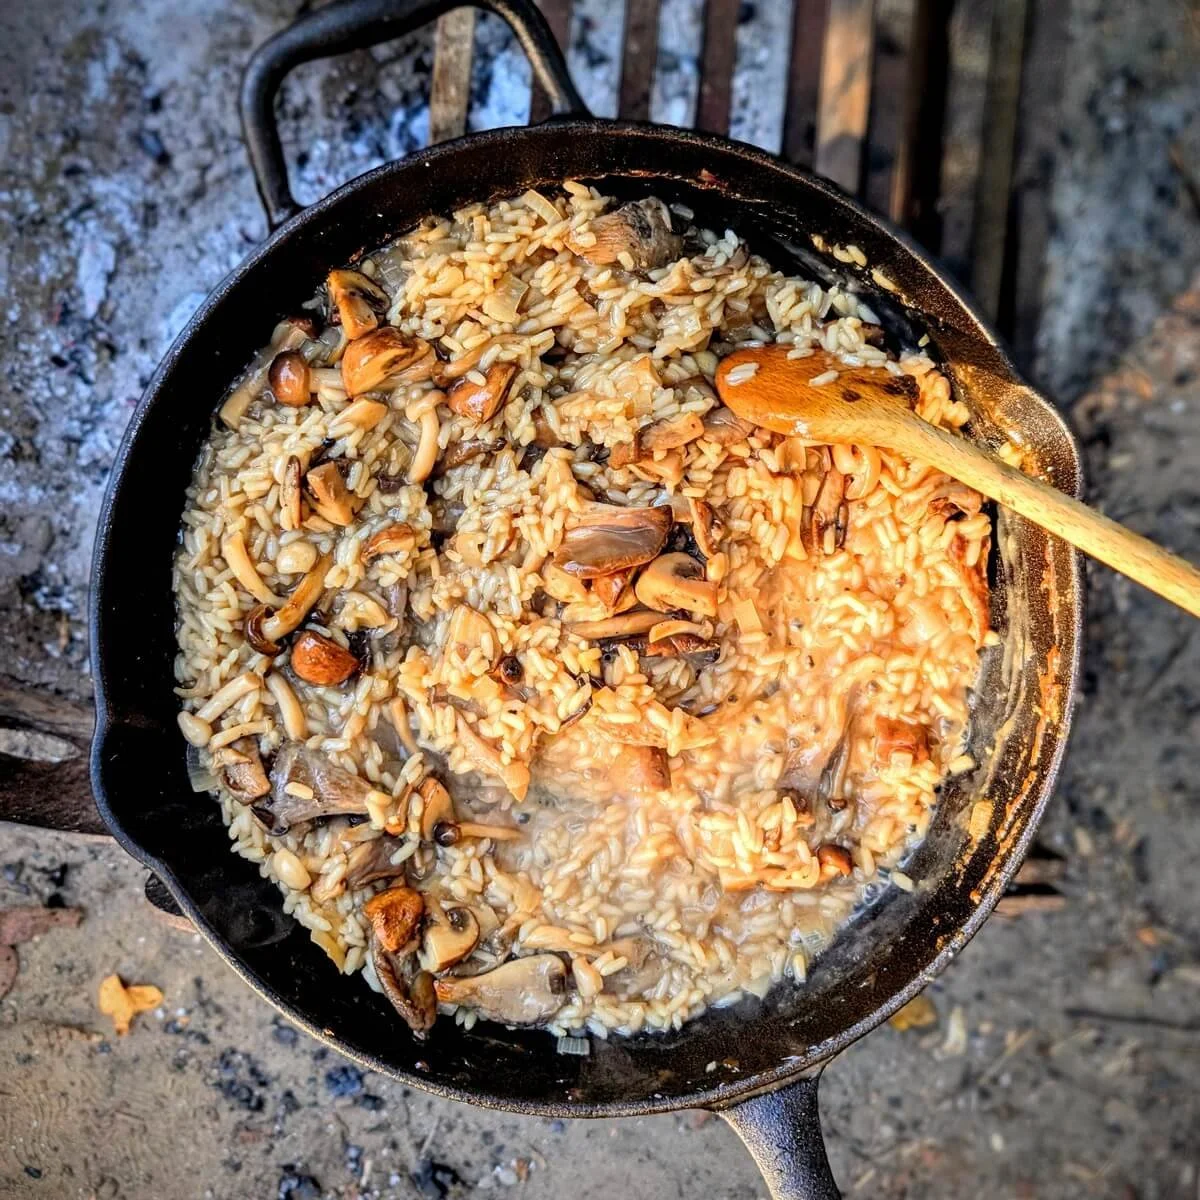
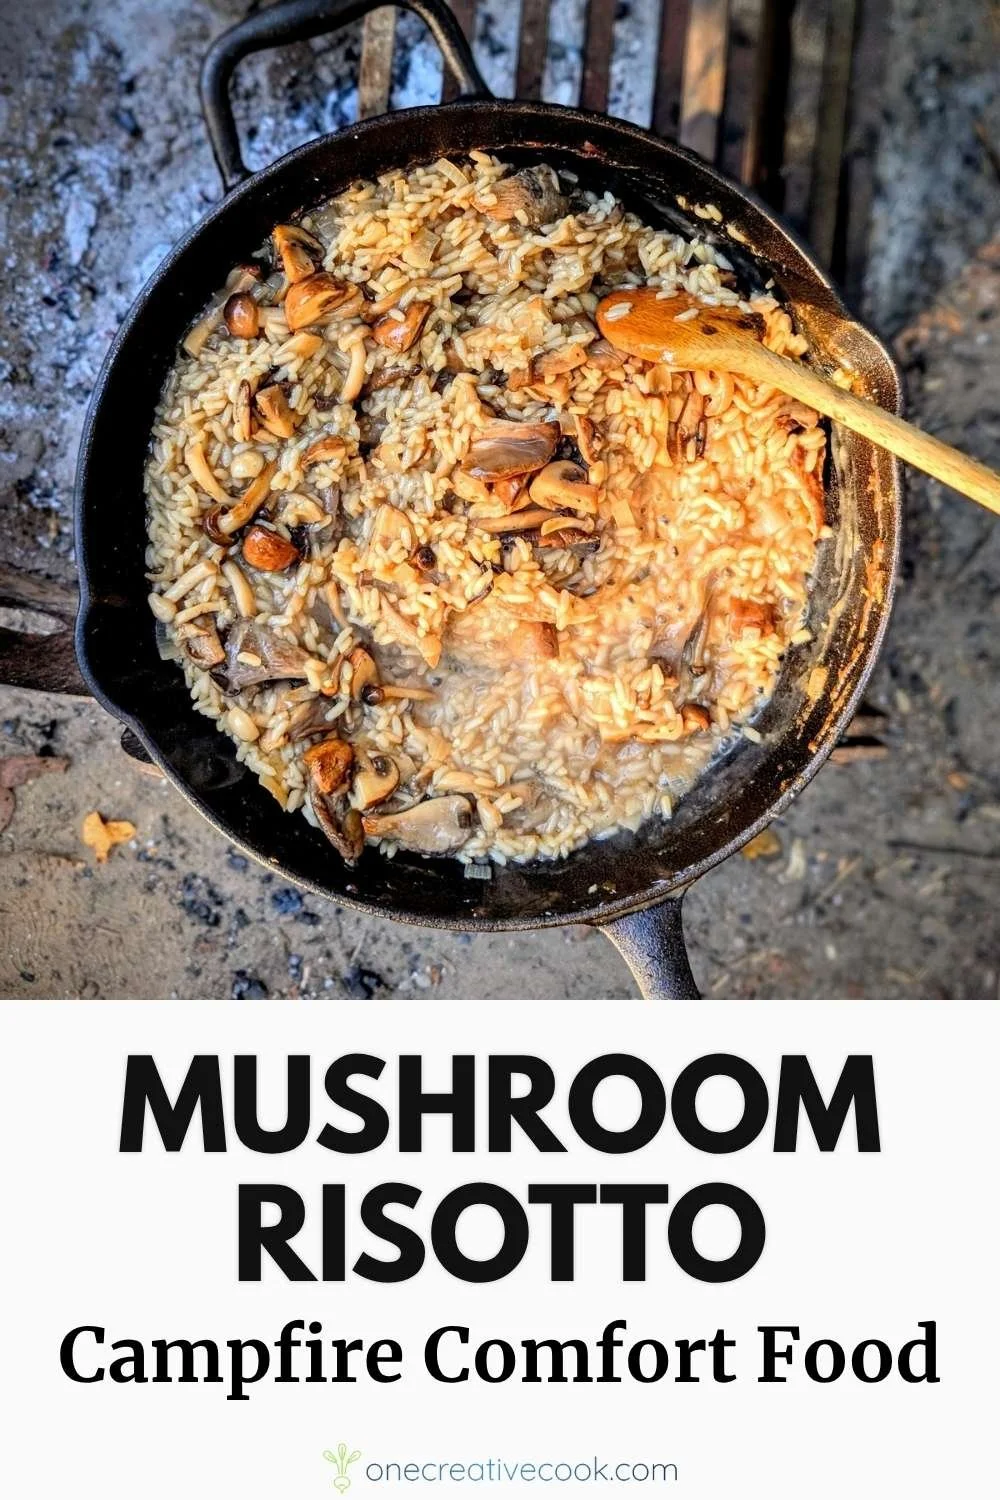
Campfire Mushroom Risotto
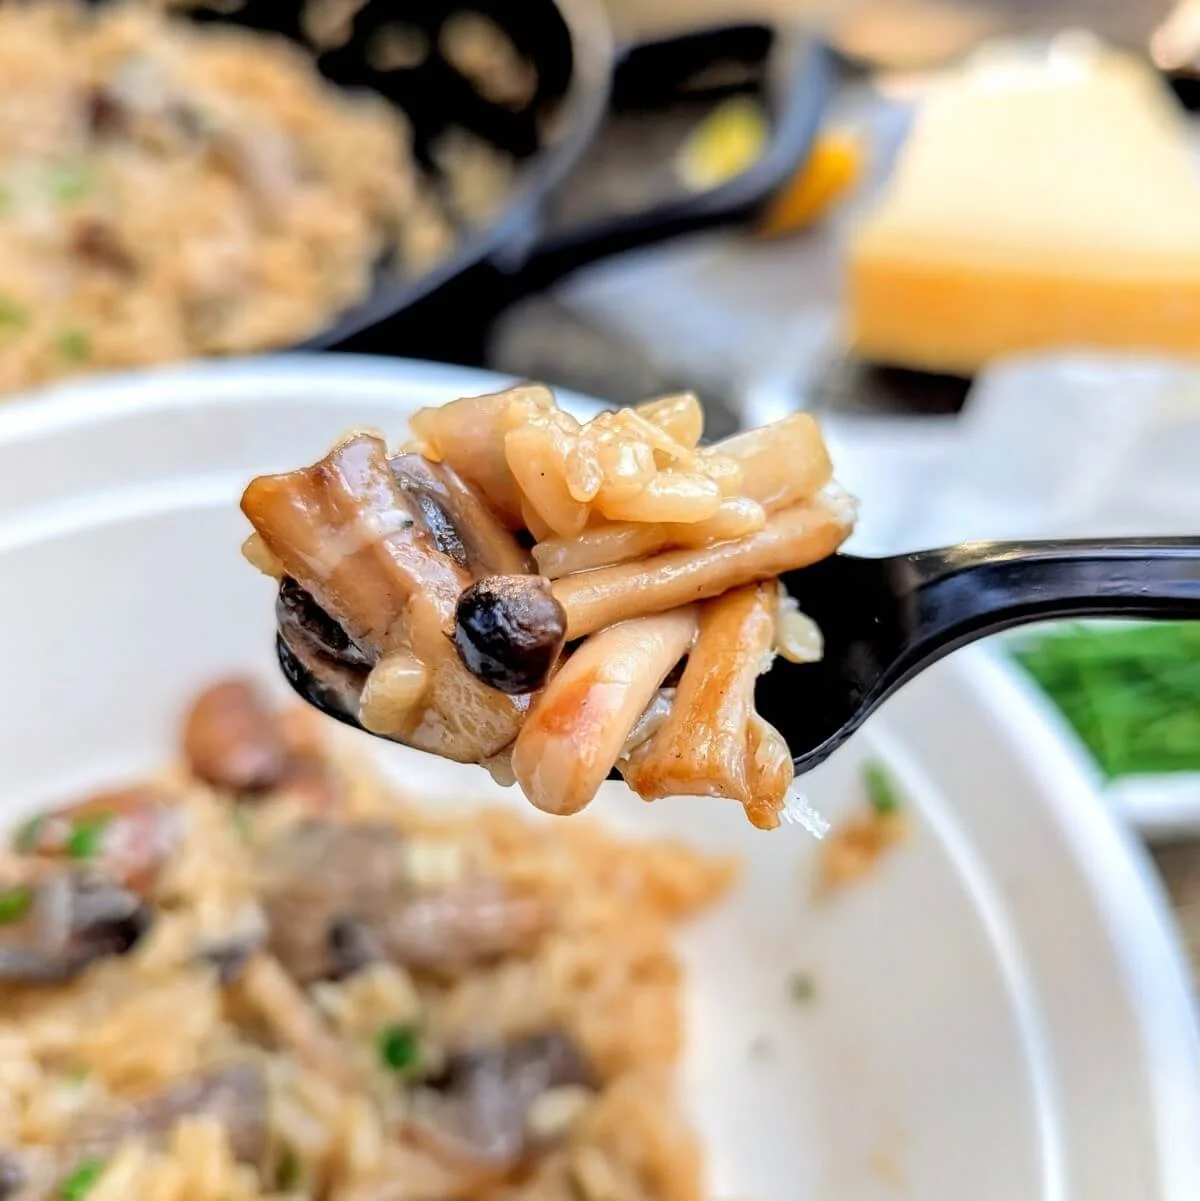
This mushroom risotto is cooked over the campfire for a rich, smoky flavor. One pan, properly browned mushrooms, and steady heat control create a perfectly creamy, al dente texture.
or read on for step-by-step instructions with photos

Mushroom Risotto at Camp Without Compromise
Mushroom risotto at camp should taste every bit as good as it does at home. Over a campfire, it takes on a subtle smokiness that makes every spoonful even more flavorful. Creamy and rich, with tender rice that holds a true al dente texture and browned mushrooms layered throughout, this camping risotto is anything but a compromise.
I’ve made risotto countless times in restaurant kitchens—and at camp, the fundamentals don’t change. Manage the heat, add the broth gradually, stir frequently, and let the rice release its starch slowly. This campfire mushroom risotto follows the same tried-and-true technique, just adapted for outdoor cooking.
What Makes This Camping Risotto Recipe Work
Proper mushroom browning: Cooking the mushrooms first over high heat builds caramelization instead of letting them steam, laying a flavorful foundation.
Adding broth in stages: Gradually adding liquid allows the rice to release its starch, creating natural creaminess without cream and eliminating the need for a separate pot to keep the broth warm.
Controlled fire management: Moving the pan on and off the heat keeps the rice at a gentle simmer instead of a hard boil, so it cooks evenly without sticking.
Next, I’ll walk you through this camping risotto recipe step-by-step, so you know exactly what to look for at each stage.
Let’s get stirring!
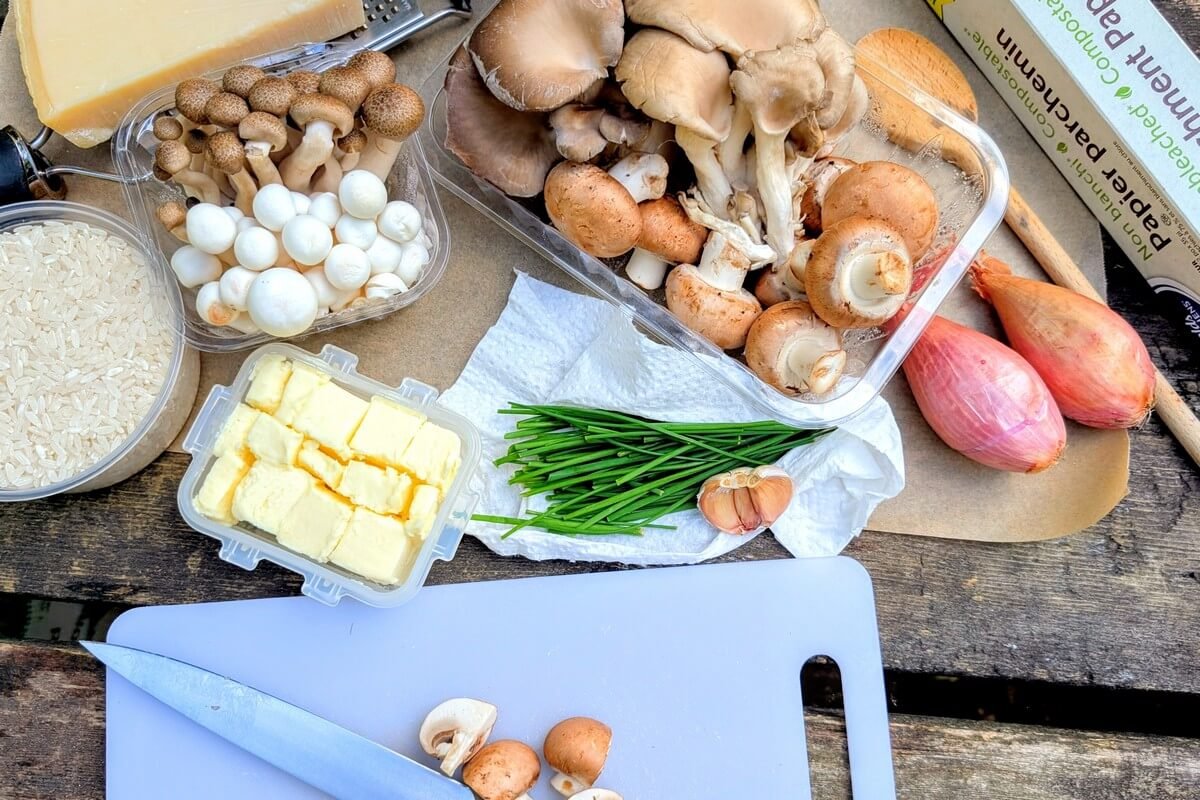
What You’ll Need
Mushroom Risotto Ingredients
1 cup arborio rice
4 cups mushroom broth (1 store-bought box)
2 cups water, as needed
1 pound mixed mushrooms, sliced (such as cremini, shimeji, or oyster)
2 shallots, finely diced
2 cloves garlic, minced
4 tablespoons butter
¼ cup hard cheese, finely grated (parmigiano reggiano or grana padano)
2 tablespoons fresh chives, snipped with scissors
½ lemon, cut into wedges
salt & pepper, to taste
Equipment for Cooking Risotto Over Fire
Large cast-iron pan or pot
Campsite fire pit or camp stove
Wooden spoon
Knife and cutting board
Fine grater
Kitchen scissors
Parchment paper or tray
Makes: 2 servings
Prep: 10 min Cook: 30 min
How to Make Mushroom Risotto Over a Campfire
Step-by-Step with Photos
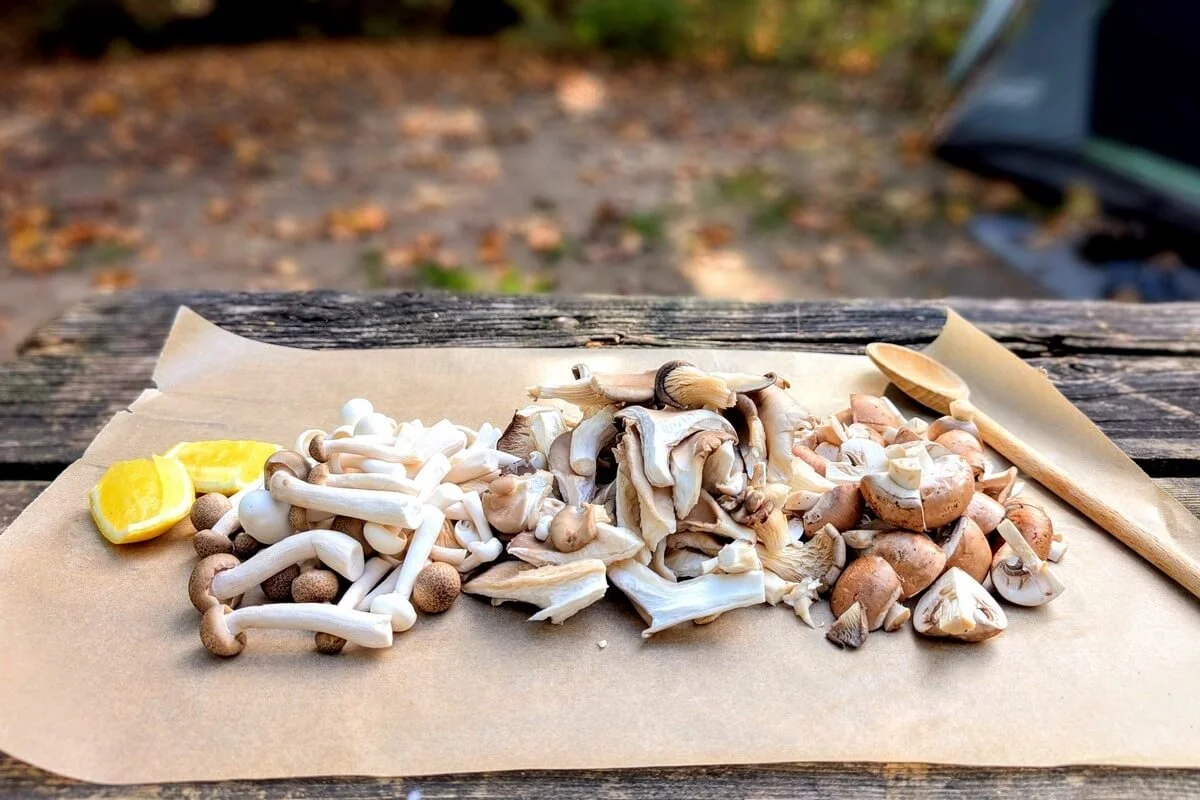
Step 1: Build your fire and prep the ingredients
Build your campfire at least 30 minutes before cooking. Let it burn down until it produces steady heat with no large flames.
Arrange the fire to one side of the pit so you have a hot zone and a cool zone, giving you space to move the pan on and off the heat as needed.
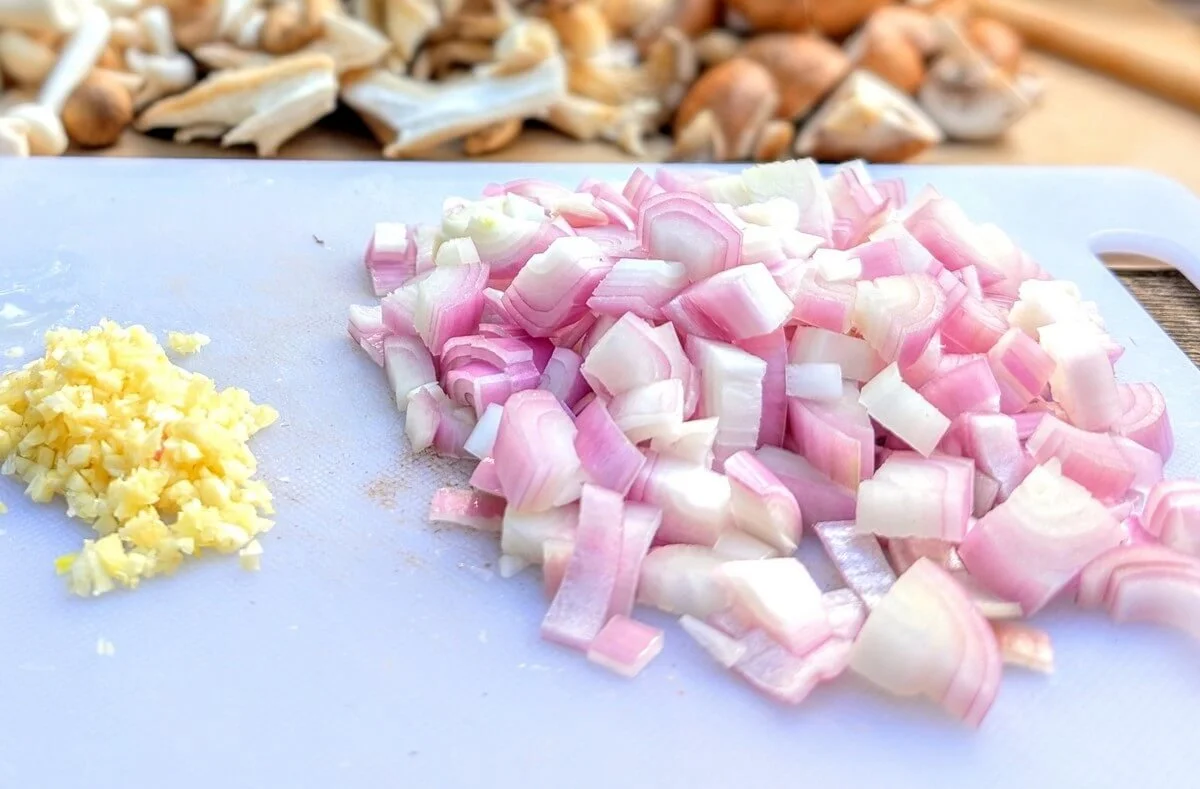
While the fire settles, slice the mushrooms, dice the shallots, mince the garlic, and cut the lemon into wedges. Set them aside on a cutting board, tray, or parchment until ready to cook.
Have the butter, rice, broth, cheese, chives, seasonings, wooden spoon, and pan ready before you start cooking.
🔥For a full breakdown of building and controlling live-fire heat, see my complete guide on how to cook over a campfire.
Step 2: Brown the mushrooms properly
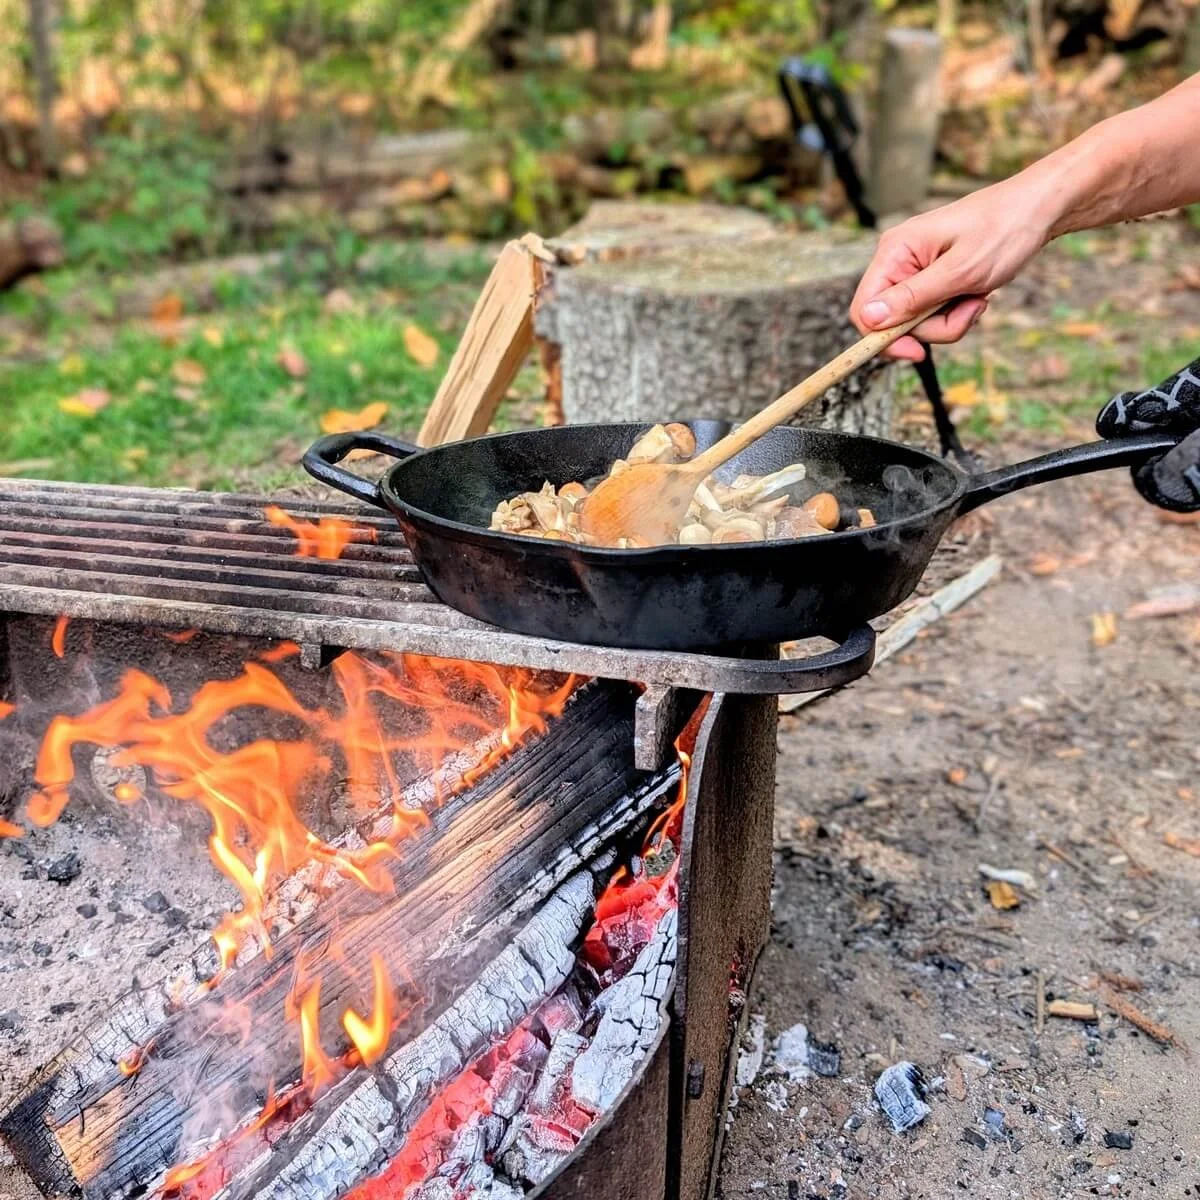
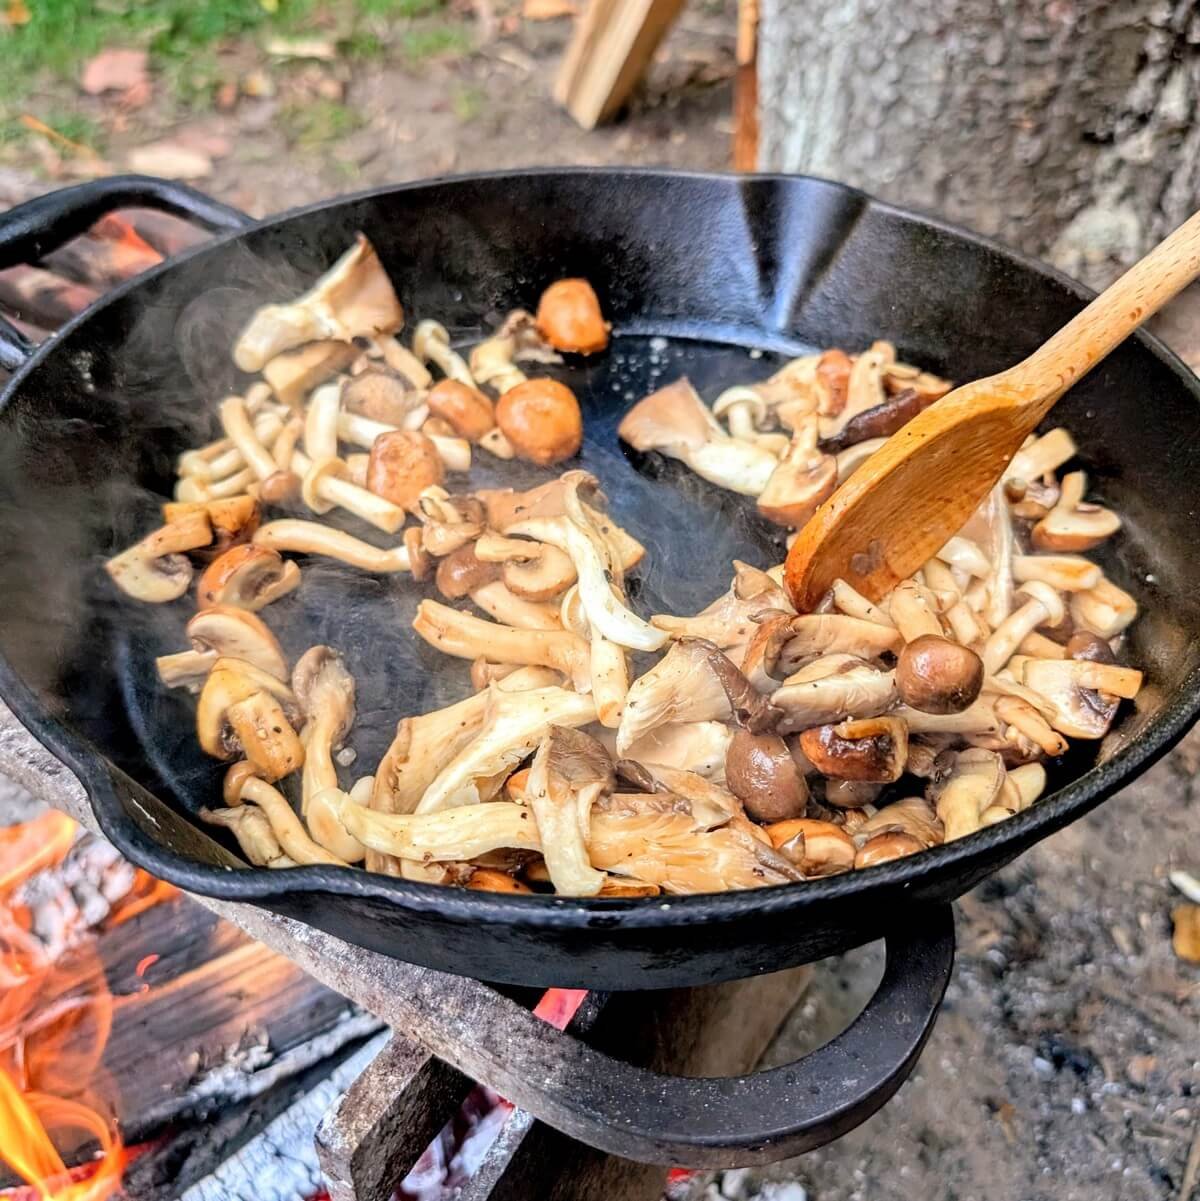
Preheat your cast-iron pan directly over the hot zone of the fire. Add 1 tablespoon of butter to the pan.
Add the mushrooms in a single layer and sauté until they release their moisture and get some nice caramelization. Avoid overcrowding the pan—if needed, cook them in batches so they sear instead of steam.
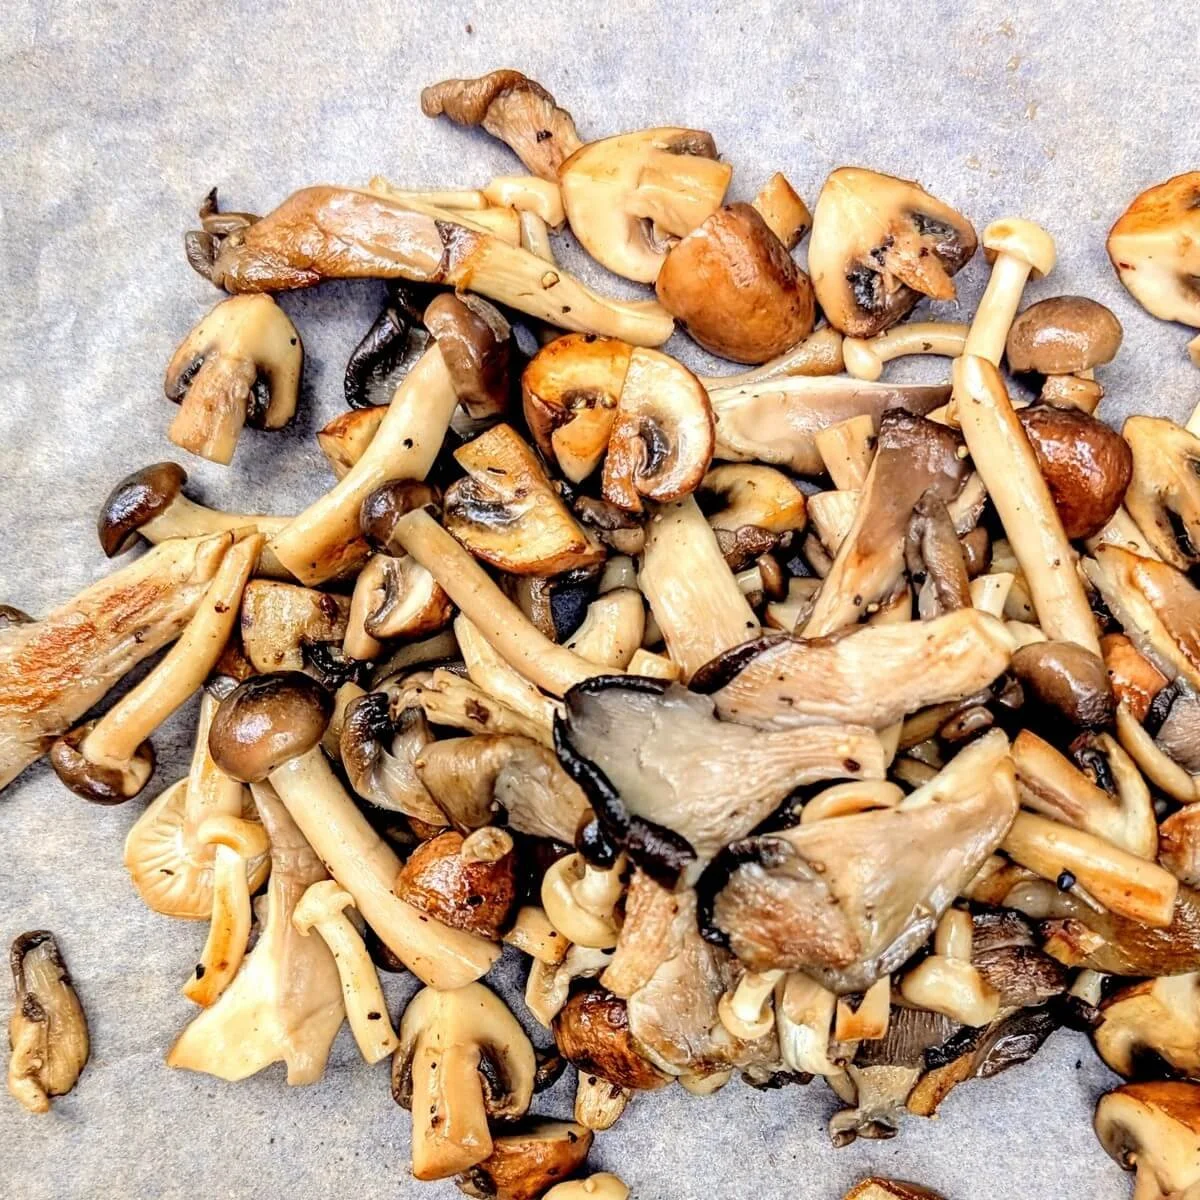
Once browned and softened, remove the mushrooms from the pan and set aside until ready to finish the risotto.

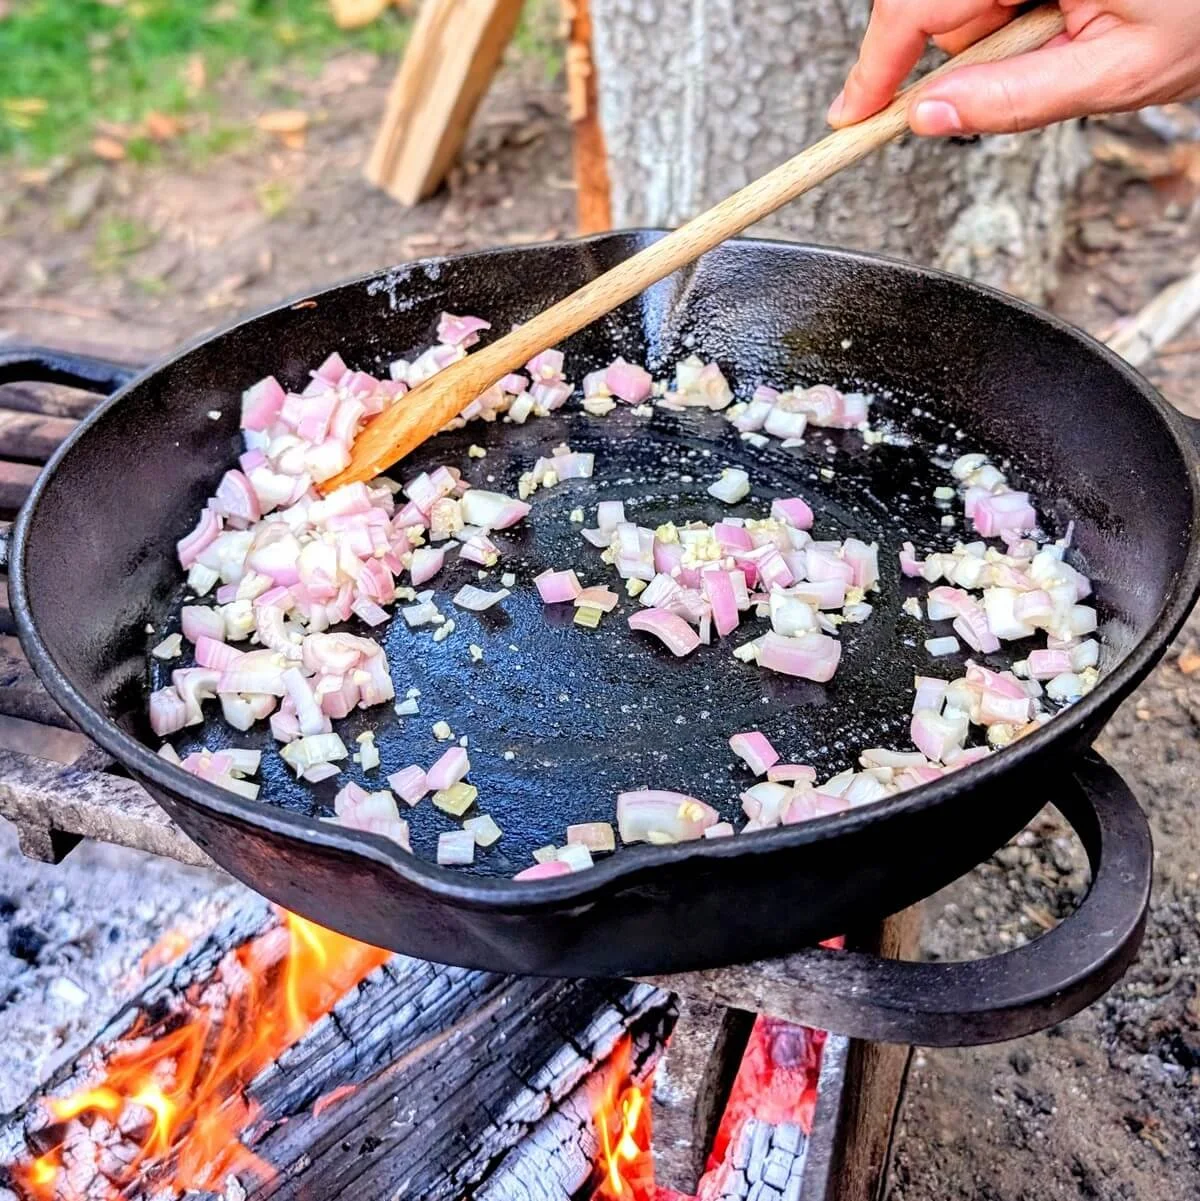
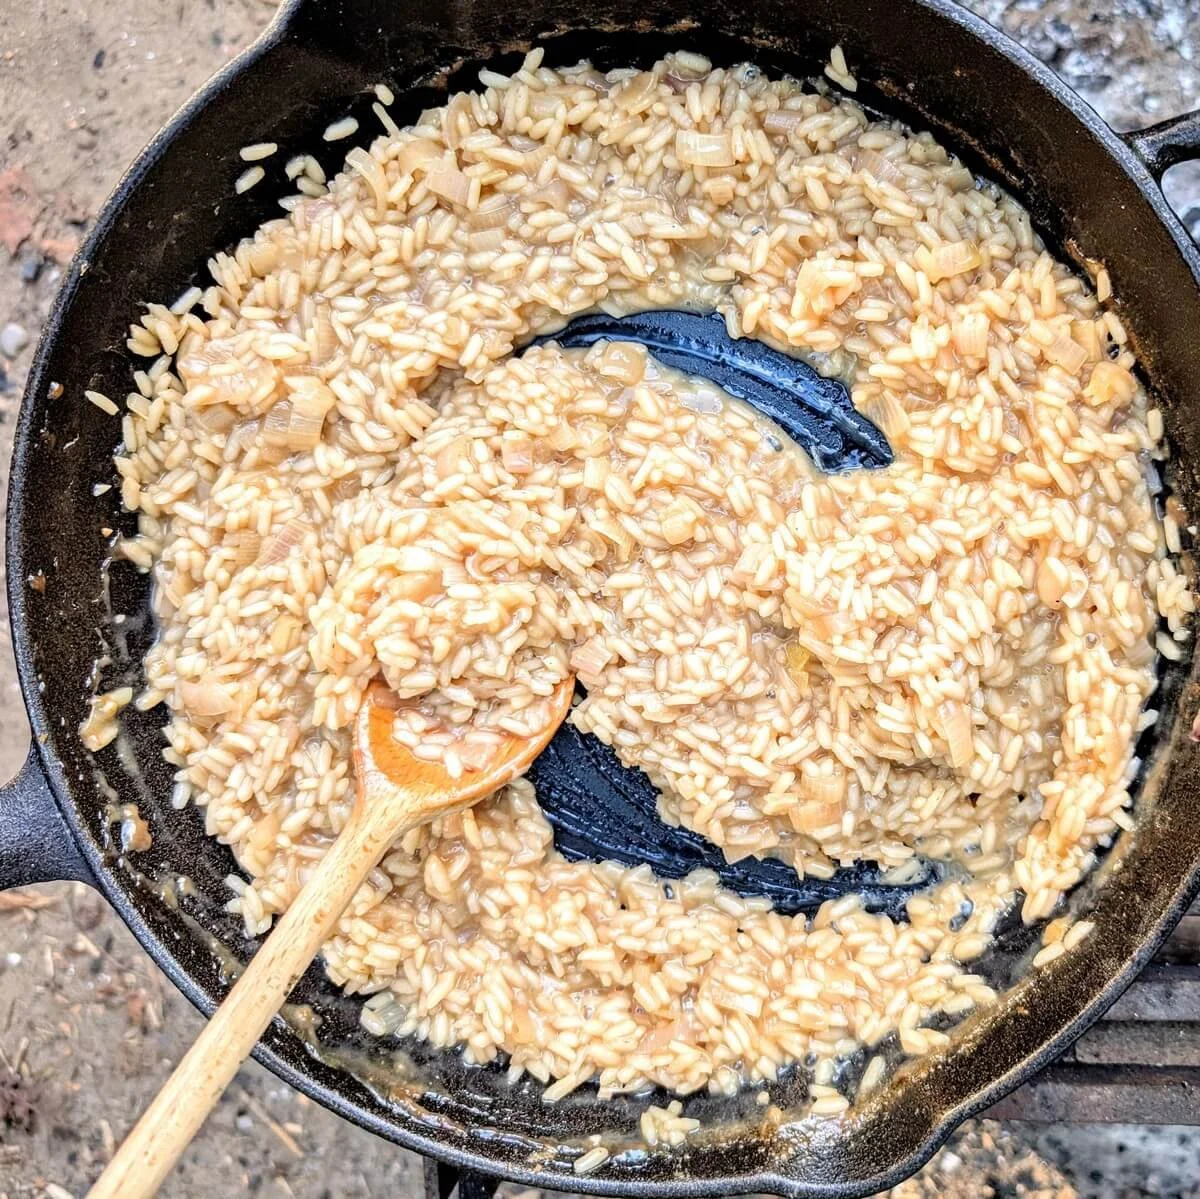
Step 3: Cook the aromatics and toast the arborio rice
Still over high heat, add another tablespoon of butter. Once melted, add the shallots and garlic and sauté until softened but not browned, about 1 minute.
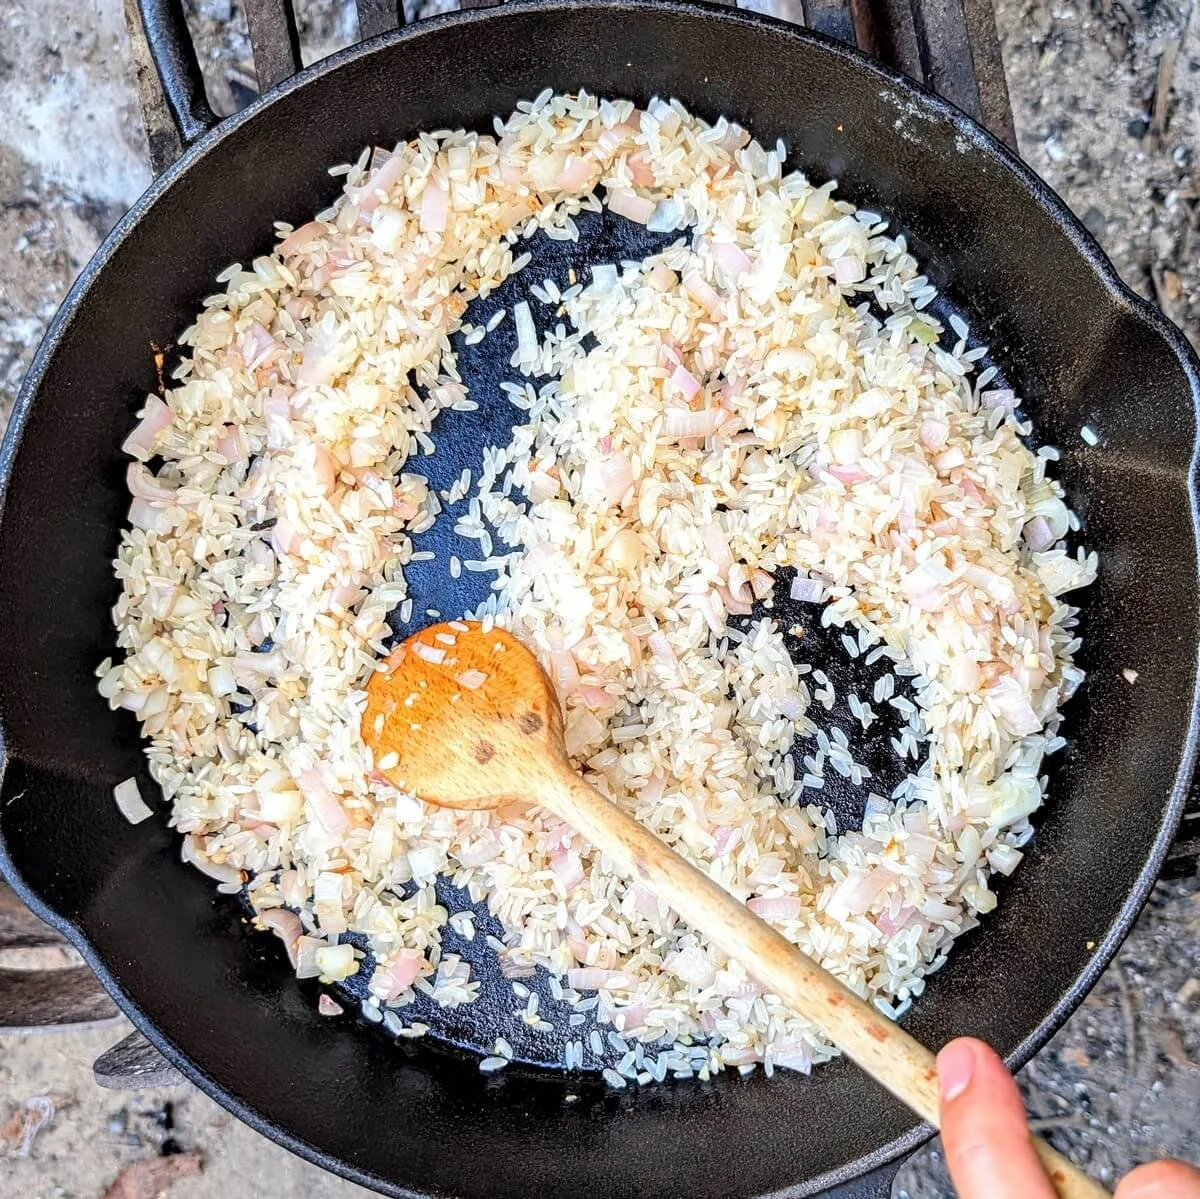
Add the arborio rice and stir frequently until the grains are well coated in butter and evenly mixed with the shallots and garlic.
Toast until some of the edges turn lightly golden. This step helps the rice hold its texture and prevents it from turning mushy.
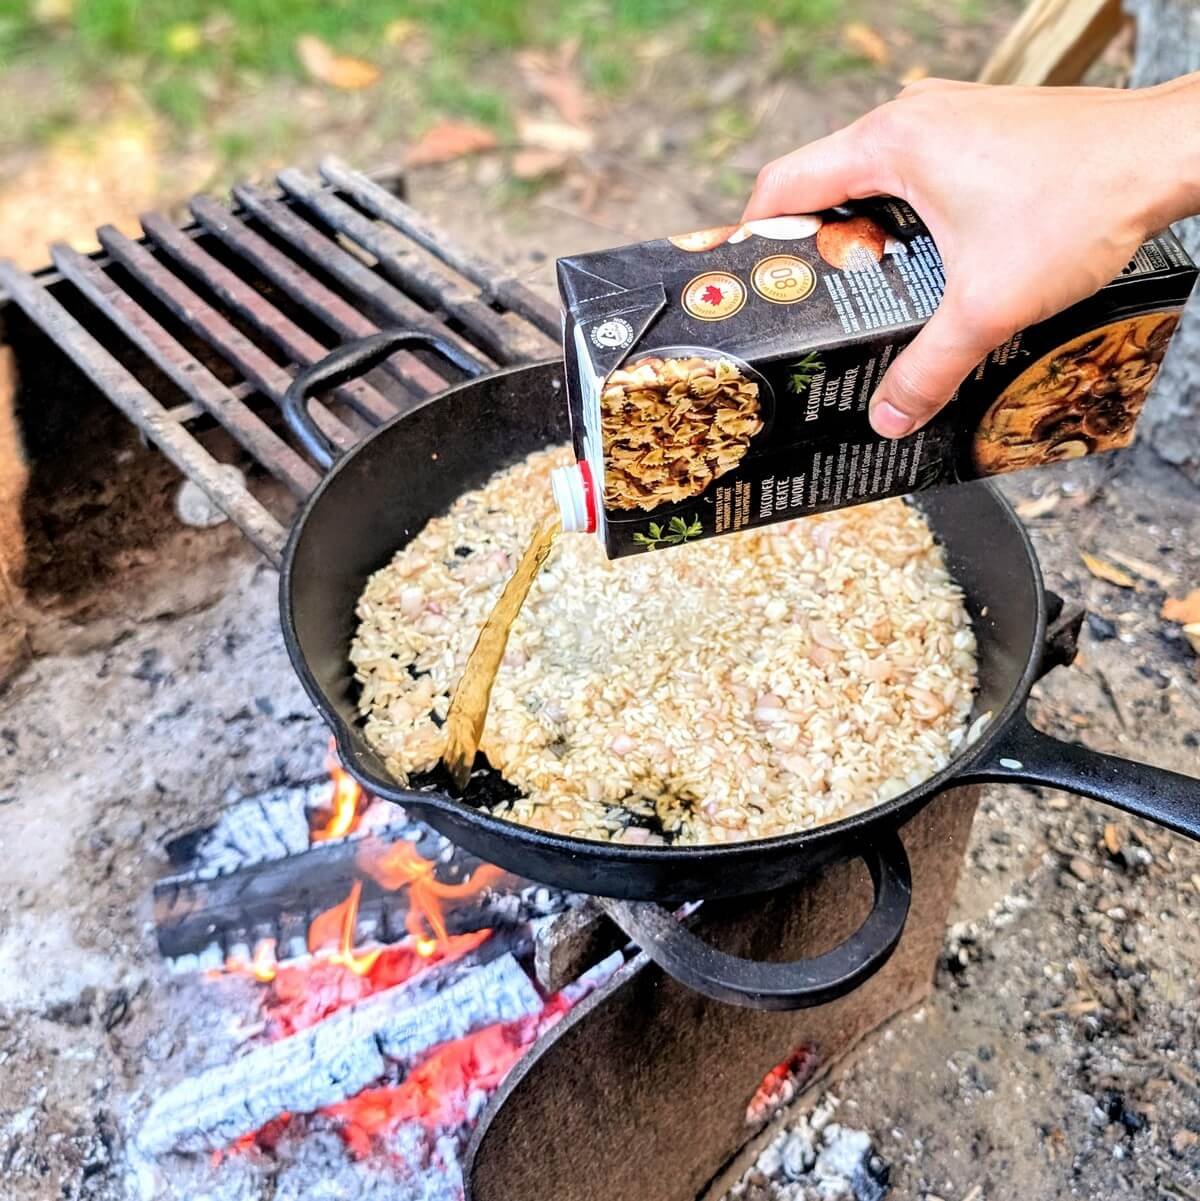
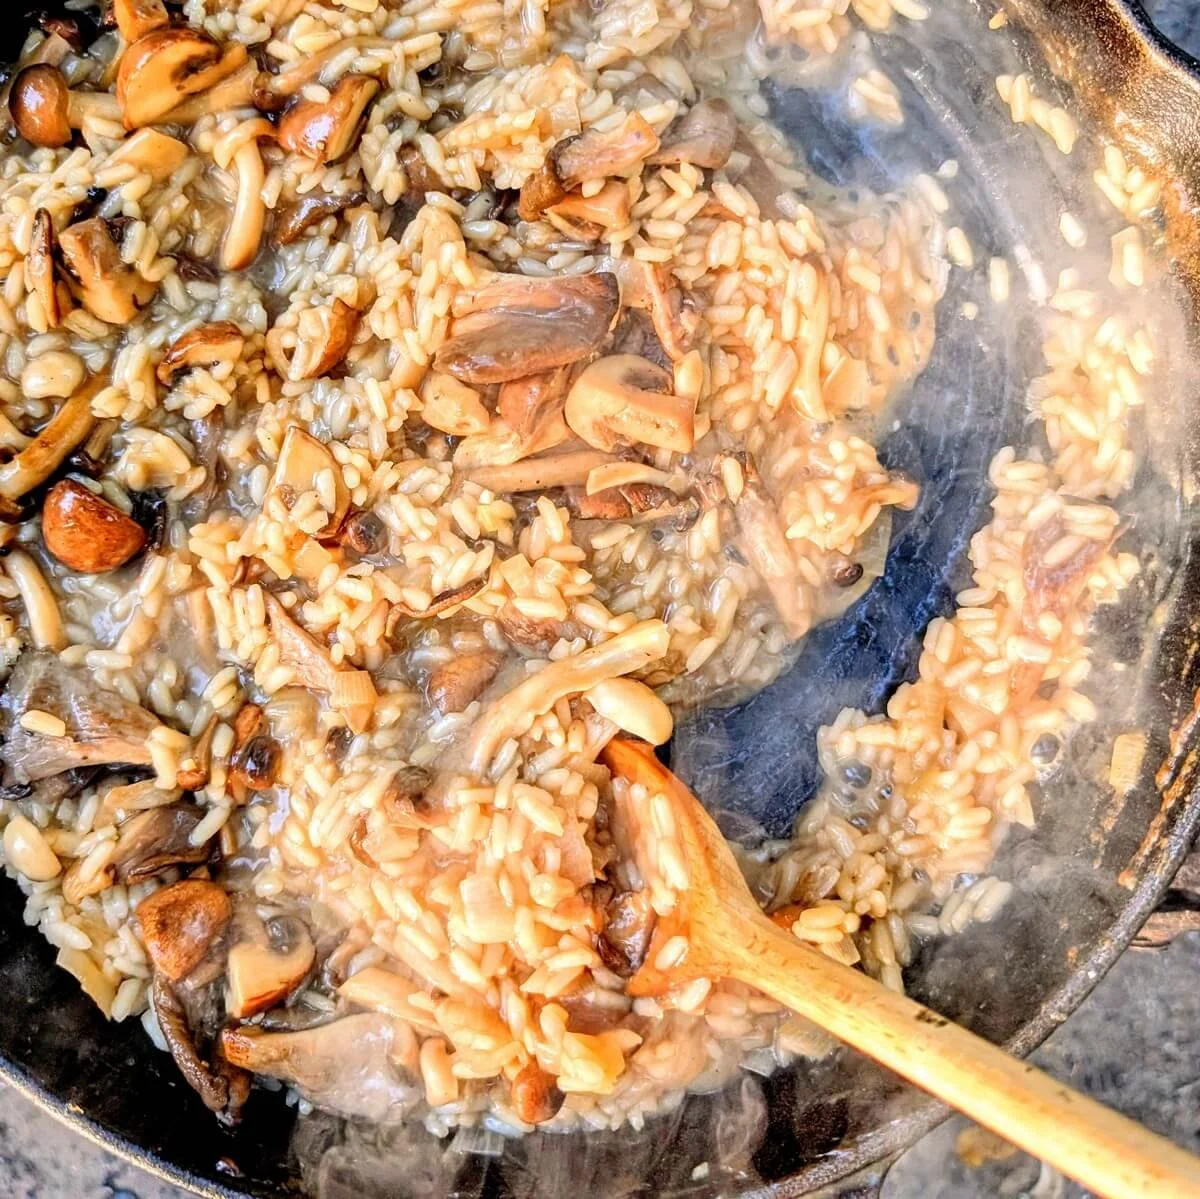
Step 4: Gradually add broth and cook the risotto until al dente
Add one-third of the mushroom broth and let it come to a boil. Move the pan to a lower heat zone so the rice simmers gently rather than boiling aggressively.
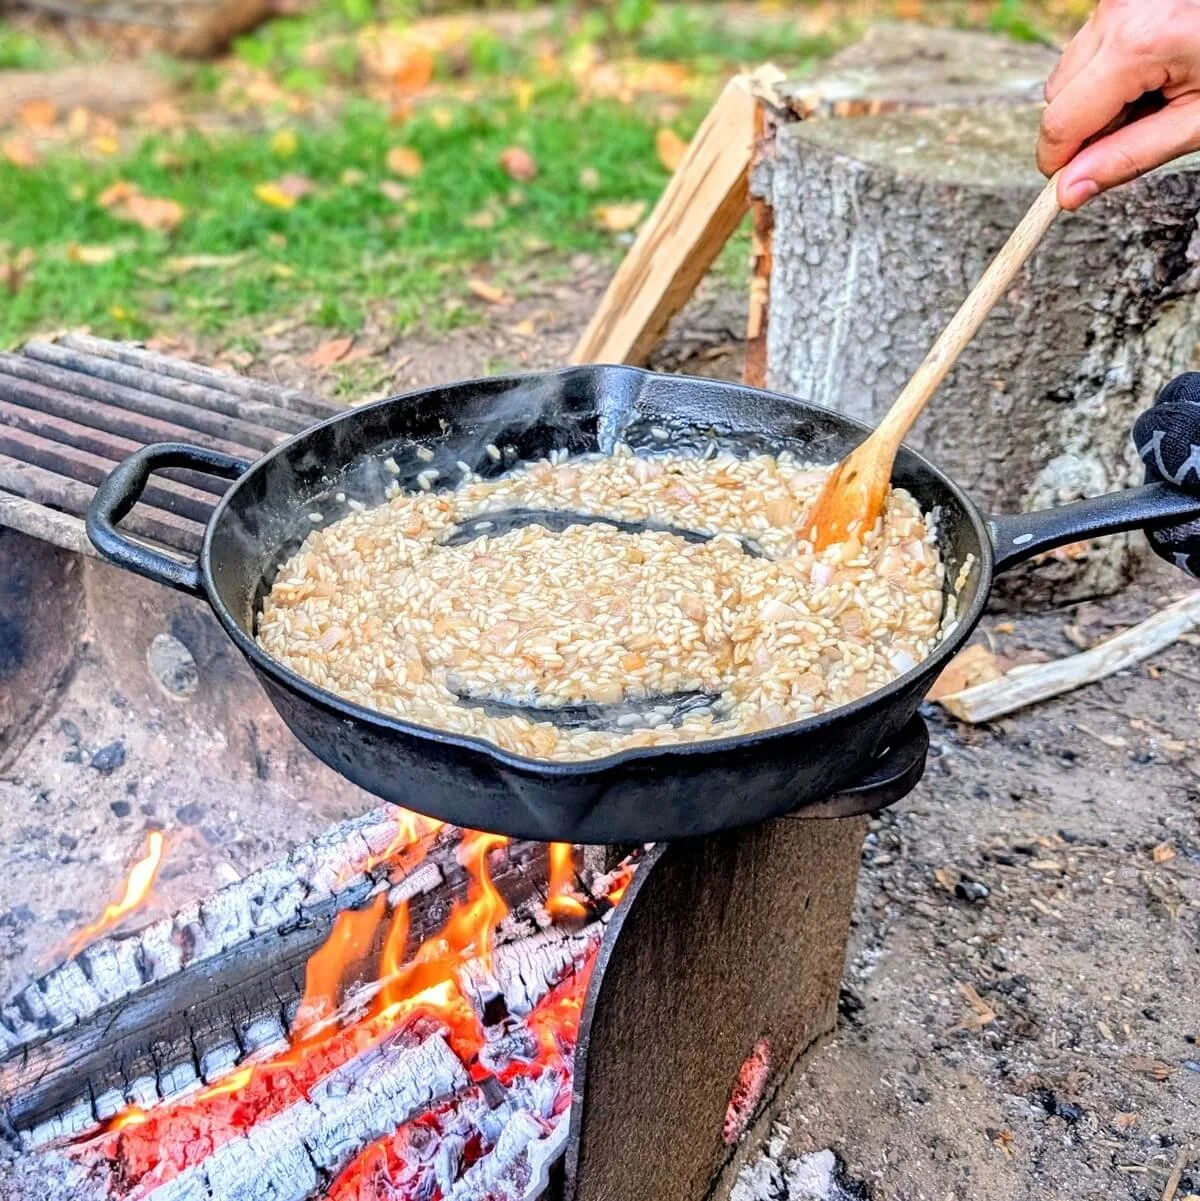
Stir frequently to prevent sticking and help the rice release its starch. Once most of the liquid is absorbed, add another third of the broth and repeat. Add the remaining broth in the same way, stirring as it cooks. This usually takes about 30 minutes.
Taste the rice to check for doneness. If it is not yet tender, add 1 cup of water and continue cooking, adding more as needed until the rice is tender and fully cooked.
How to know when risotto is done:
– Rice should be cooked through, not hard or crunchy
– Individual grains are visible, without being mushy or falling apart
– The texture is creamy and flows slowly when stirred, not soupy
– A spoon dragged through the pan leaves a trail that slowly fills in
💡 Camping tip: When I’m cooking risotto (or really anything) over a fire, I bring a low folding stool so I can sit comfortably and stir without hovering over the heat.

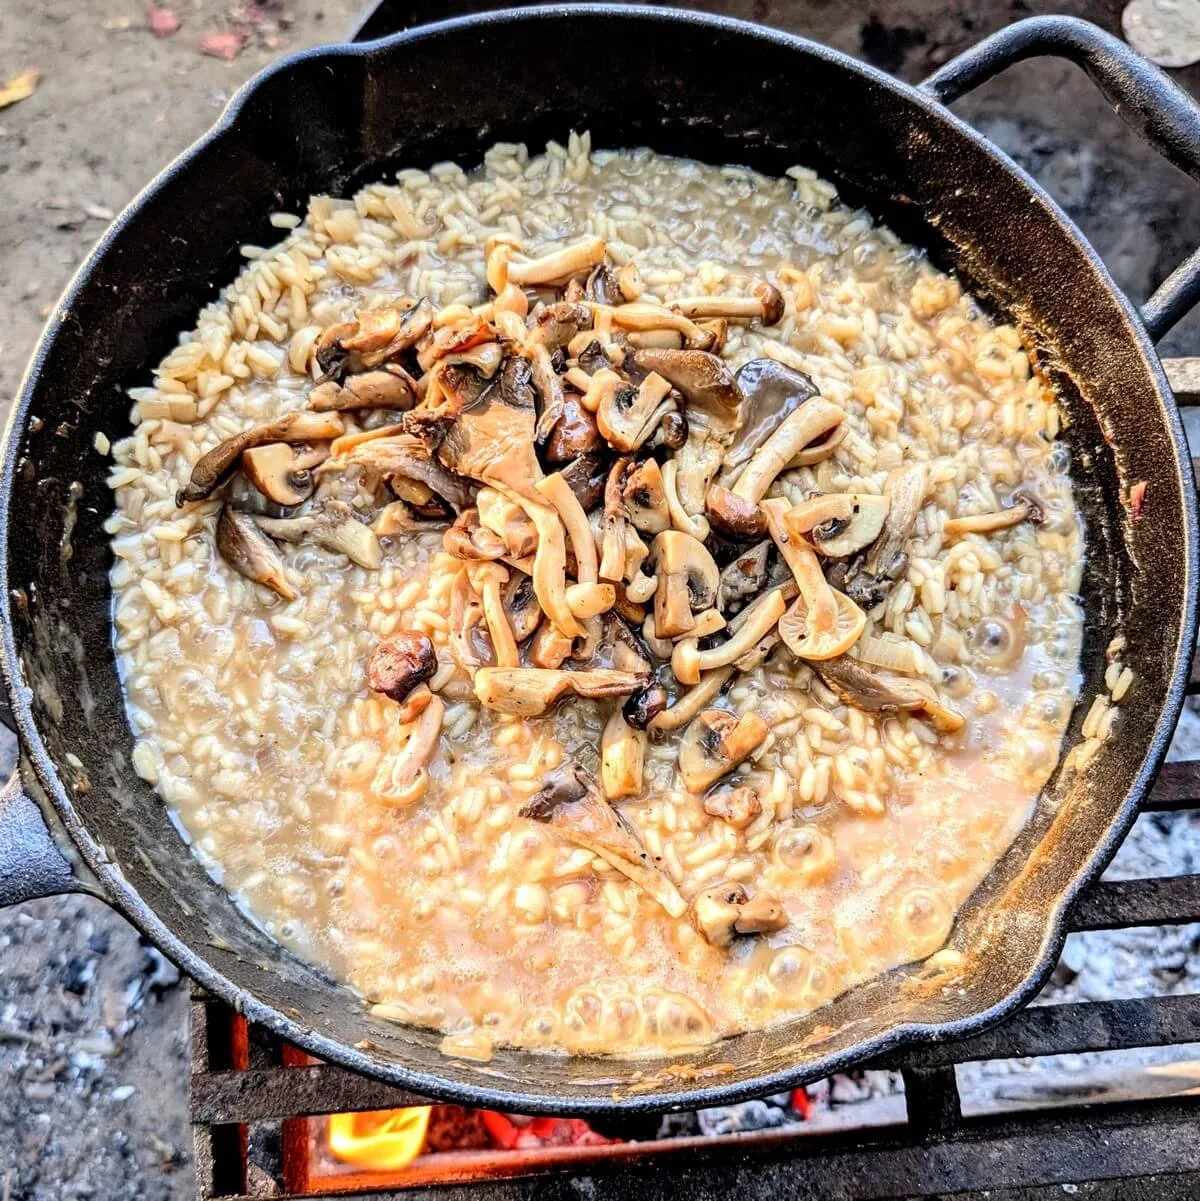
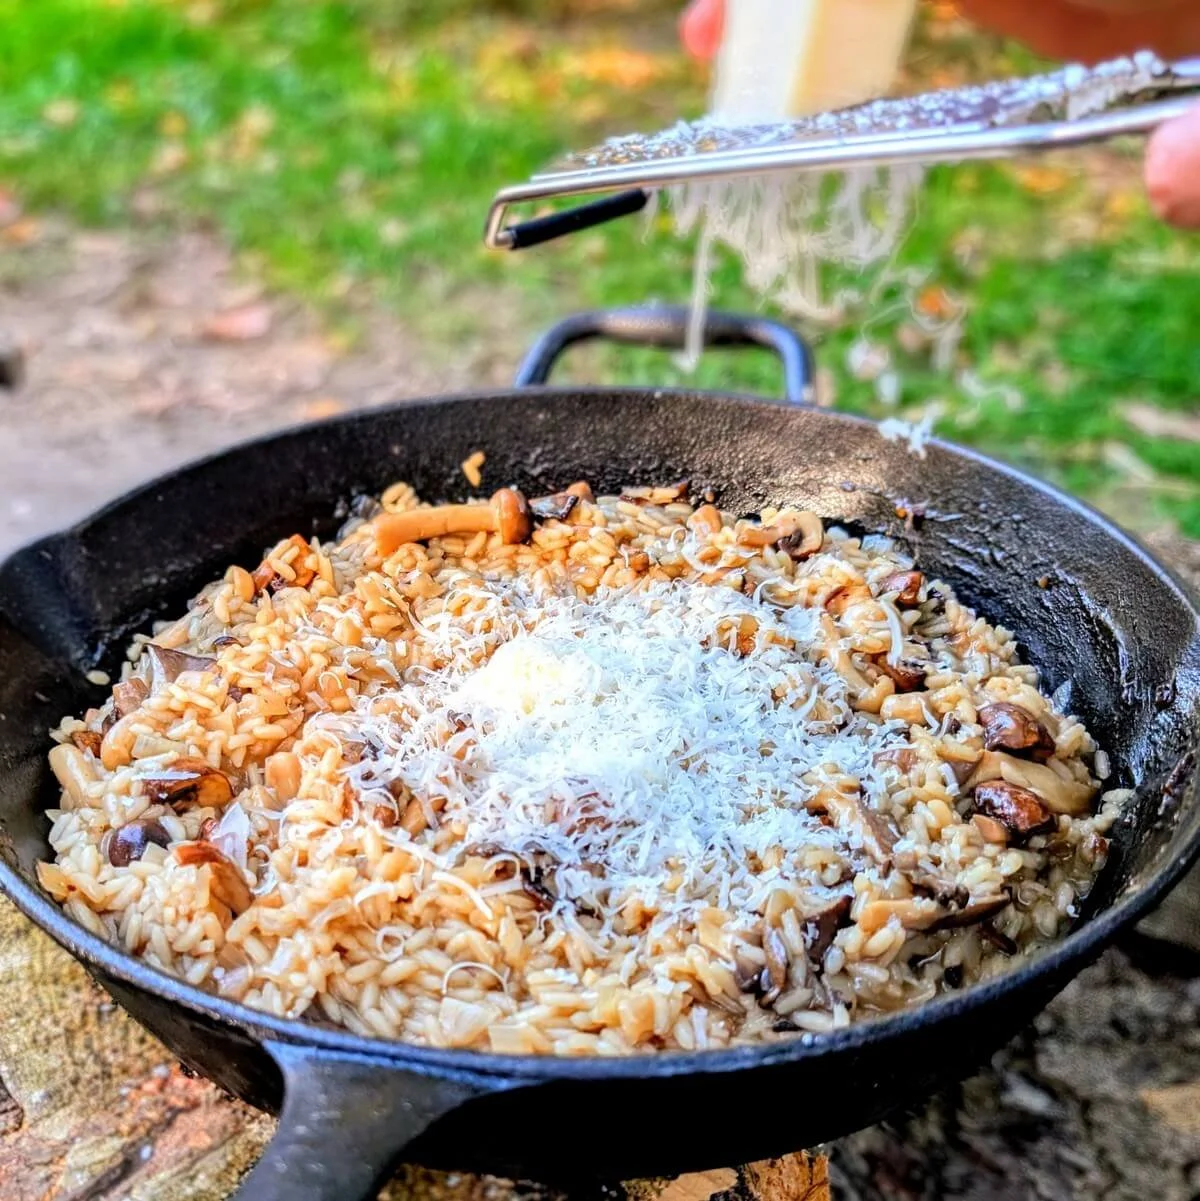
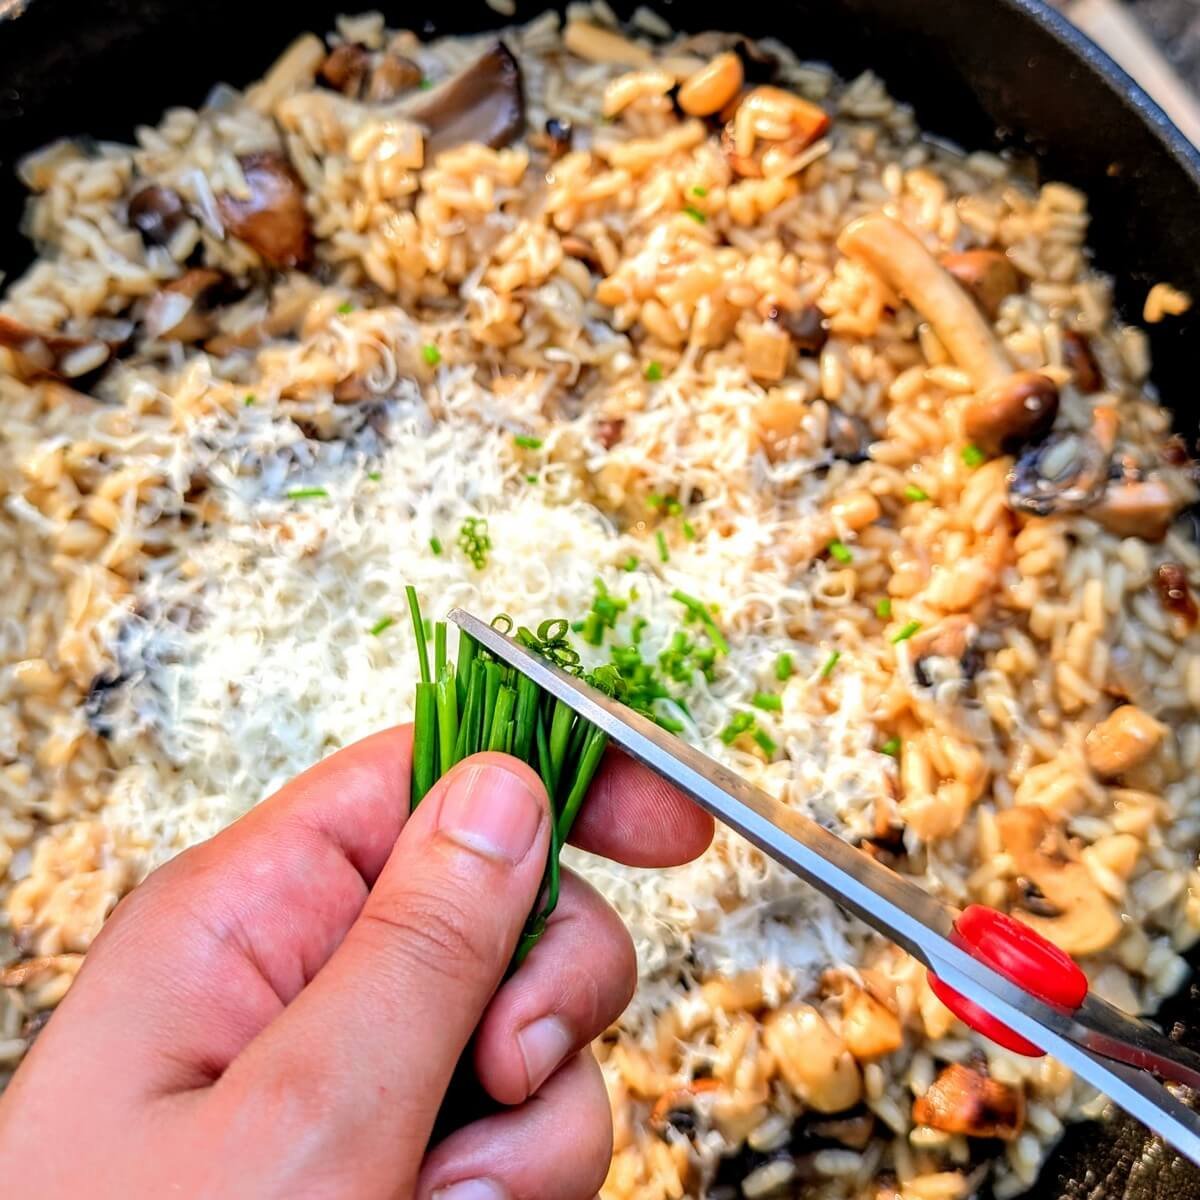
Step 5: Finish the mushroom risotto with cheese and chives
Add the browned mushrooms back to the pan. Stir over medium heat until warmed through.
Remove the pan from the heat. Add the remaining 2 tablespoons of butter, grate in the cheese, and snip in the chives. Stir until creamy and well combined.
Taste and adjust with salt and pepper. The broth and cheese are already salty, so season carefully.
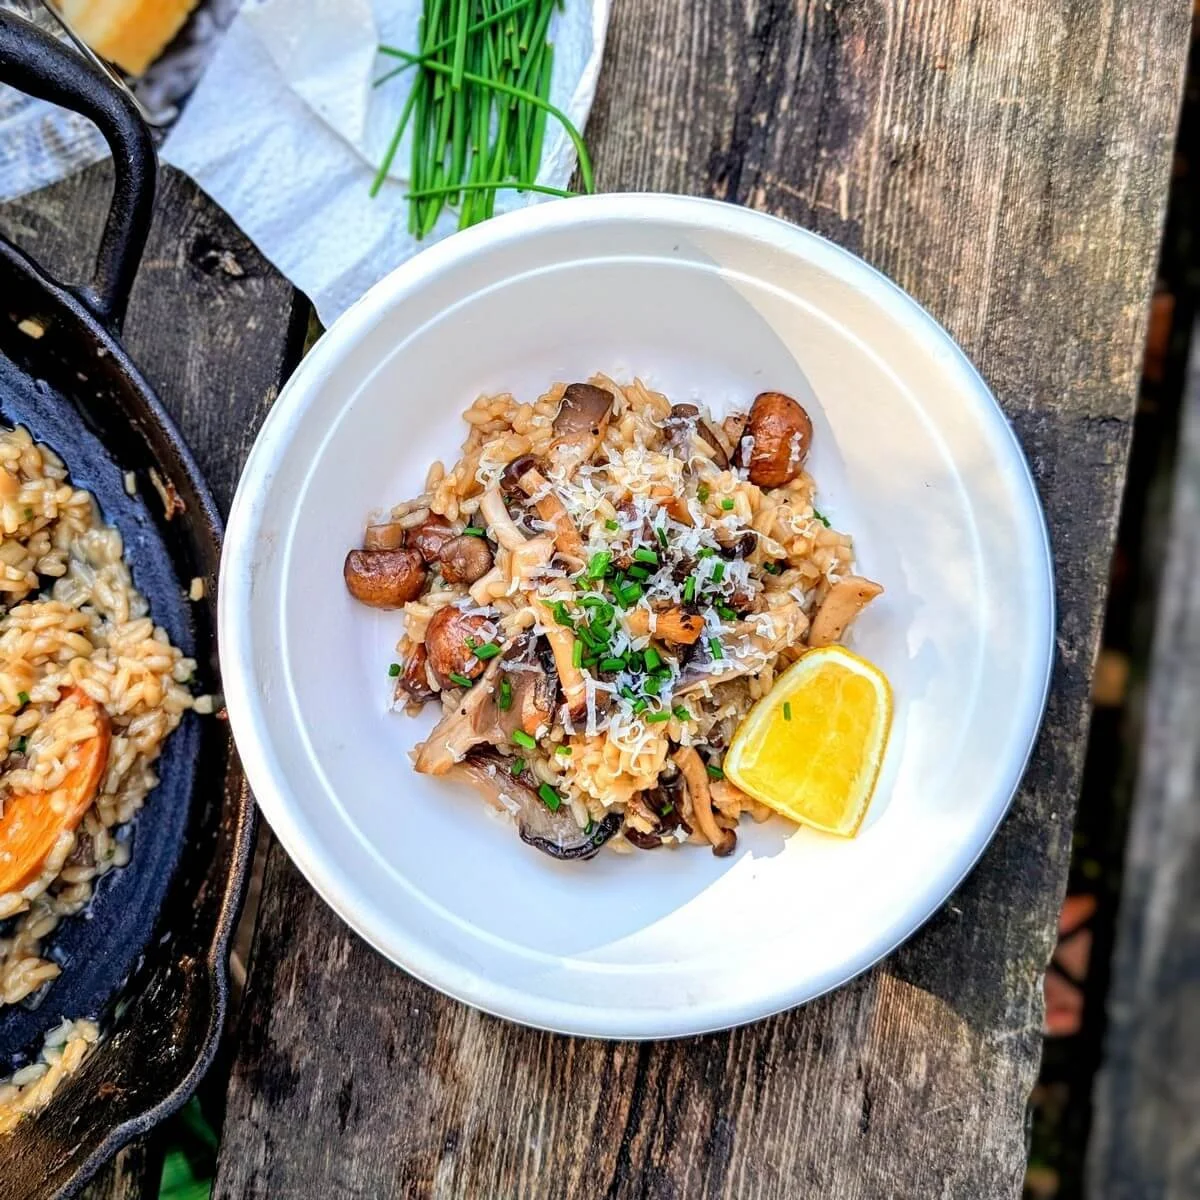
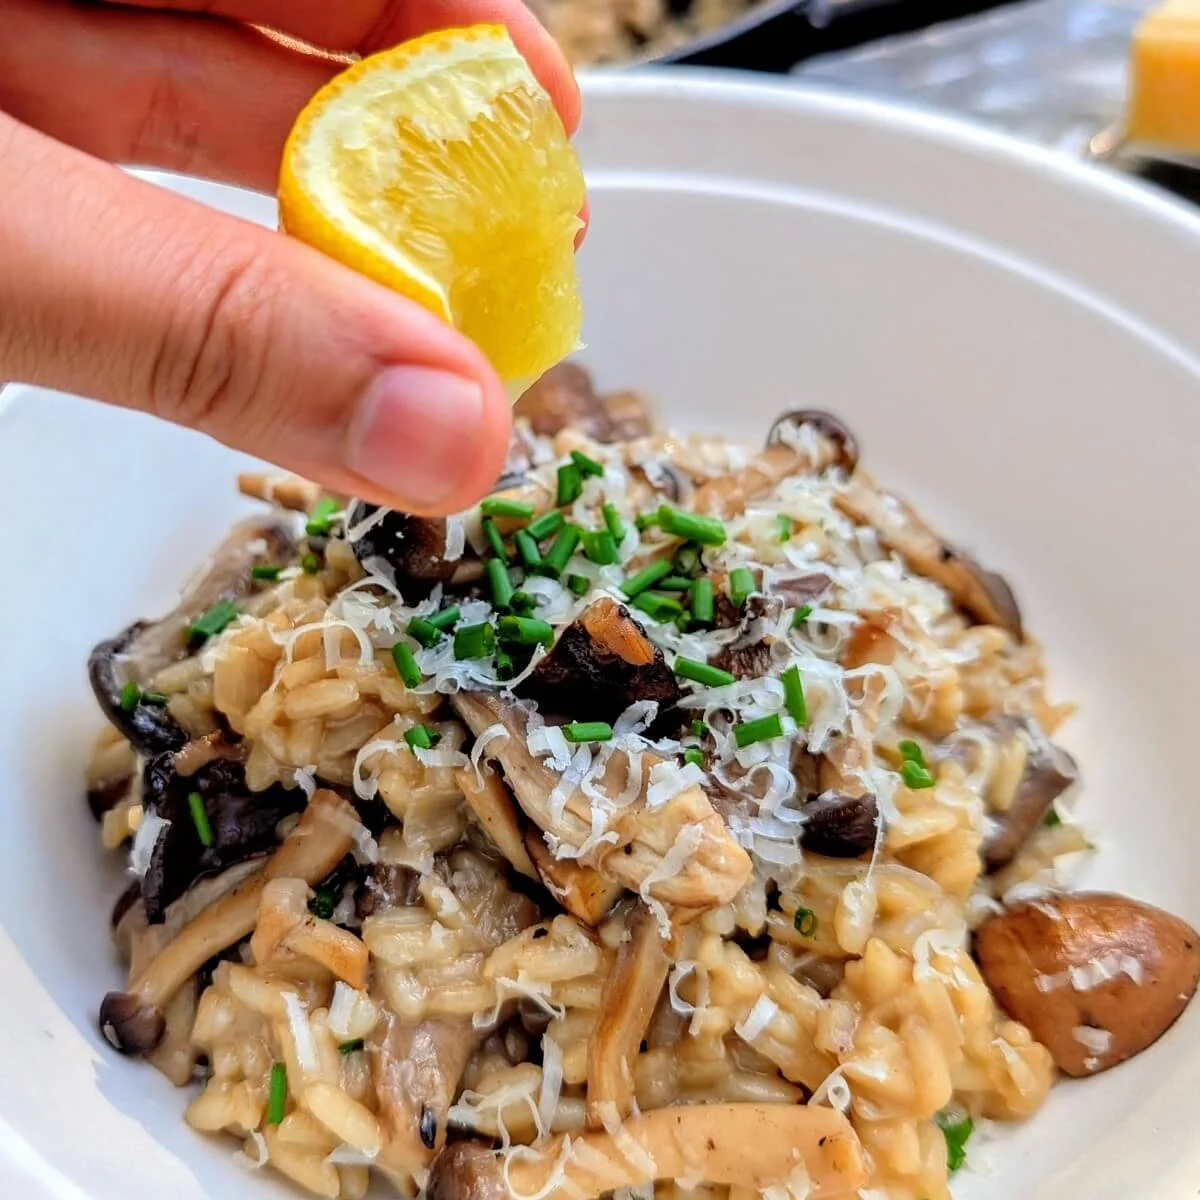
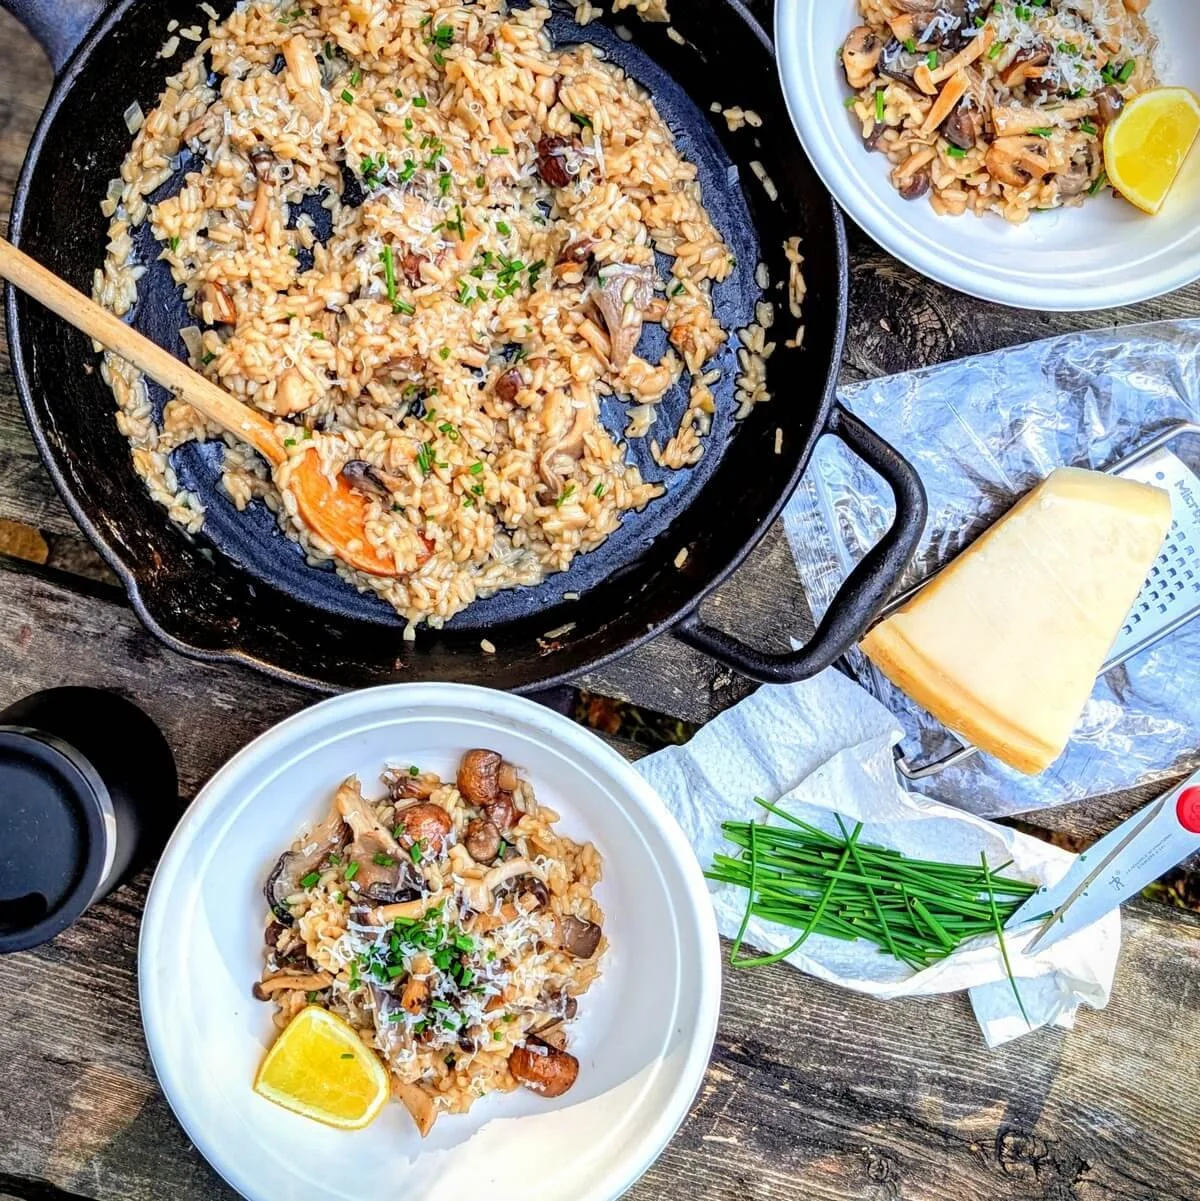
Spoon into bowls and serve with a lemon wedge on the side. A squeeze of lemon brightens the dish and balances the richness.
How to Keep Risotto Creamy Without Cream
Creamy risotto comes from starch, not dairy. After making this countless times, both in restaurant kitchens and at camp, I can tell you the texture is built long before the cheese goes in. Arborio rice releases starch slowly when liquid is added in stages and stirred consistently.
The mistake I see most often is adding too much liquid at once. When all the broth goes in together, the rice boils aggressively instead of simmering gently. Without steady stirring, it cannot properly release the starch, leaving you with a texture that’s soupy rather than creamy. Gradual additions, a steady simmer, and consistent stirring give the rice time to absorb, thicken, and build structure naturally.
Butter and cheese finish the risotto—they do not fix it. Once I started focusing on getting the rice creamy before adding the butter and parmesan, the results were consistently better. The finishers should enhance the texture, not create it.
Strategies to Prevent Risotto from Sticking
Sticking usually means the heat is too aggressive. I’ve learned from experience that if the pan sits directly over a strong flame, the liquid reduces too fast, and the bottom can start to stick before the rice is ready.
What works best is managing heat zones. Moving the pan off the hottest part of the fire keeps the rice at a gentle simmer instead of a hard boil. That control alone prevents most sticking issues.
Risotto should never cook dry. If you look down and the pan is bare before the rice is tender, it needs more liquid. Frequent additions of liquid and consistent stirring keep the starch moving and protect the bottom from catching.
Ingredient and Equipment Substitutions for Campfire Risotto
Arborio rice: Other Italian varieties like carnaroli or vialone nano work beautifully. If those are hard to find, short-grain options like sushi rice, calrose, or even Spanish bomba rice will still give you a creamy texture with slightly firmer grains. Long-grain rice like basmati is not recommended because it does not release enough starch and can easily overcook, leaving the risotto loose or mushy.
Mushroom broth: Store-bought mushroom, vegetable, or chicken broth all work well. I often use Campbell’s mushroom broth at camp because it stores at room temperature and saves cooler space, and I’ve found it delivers consistently good flavor. Homemade is excellent if you have it, but whatever you use should taste good on its own, since it carries most of the flavor in the finished dish.
Mixed mushrooms: Use whatever fresh mushrooms you can find, such as cremini, portobello, oyster, shiitake, shimeji, or enoki. Firmer mushrooms hold their shape and add texture, while softer varieties cook down more and blend into the risotto. Dried mushrooms can be rehydrated and chopped for deeper flavor and a slightly chewier texture. Add them with the broth so they soften as the rice cooks.
Butter: Plant-based butter or olive oil can replace butter for a dairy-free version, though the final texture will be slightly less rich.
Hard cheese: Grana padano or pecorino romano are great substitutes for parmesan, with pecorino giving a sharper, saltier finish. Aged cheddar can work in a pinch, but it melts differently and can overpower the risotto if not used in moderation.
Flavor boosters: Lemon adds brightness and balances the richness, but other acids like balsamic or apple cider vinegar can work in its place. A small drizzle of soy sauce at the end boosts umami, and leftover takeout packets are an easy way to bring that depth to camp.
Cast-iron pan or pot: A heavy-bottomed stainless steel pan or Dutch oven works well and distributes heat evenly. Thinner pans are more likely to scorch over open flame and may require more frequent heat adjustments.
Campsite fire pit: A camp stove provides more controlled heat and simplifies the process. Instead of managing hot and cool zones, you can turn the flame up to bring it to a boil and lower it to maintain a gentle simmer. You will miss the subtle smoky flavor that comes from a real wood fire, but the texture and technique stay the same.
🍳 Cooking risotto over a fire takes the right tools. Here’s the campfire cooking gear I actually use to manage heat, move pans safely, and make the process easier.
How to Store, Reheat, and Freeze Mushroom Risotto
Fridge: Let the risotto cool slightly, then transfer to an airtight container and refrigerate for up to 3 days.
Cooler Storage: Store in a tightly sealed container in a well-chilled cooler with plenty of ice for up to 2 days.
To Reheat: Warm gently in a pan over the fire or in the microwave at home, adding a splash of water or broth to loosen it back to a creamy consistency. Stir as it heats to prevent sticking.
Freezer: Freeze in an airtight container or freezer bag for up to 3 months. The texture will be softer once thawed, as the starch structure breaks down. Frozen risotto is great repurposed into arancini or stirred into soups and casseroles, where the softer texture works in your favor.
🧊 For smarter cooler packing strategies to keep food fresh and safe, see my full guide on how to pack a cooler for camping.
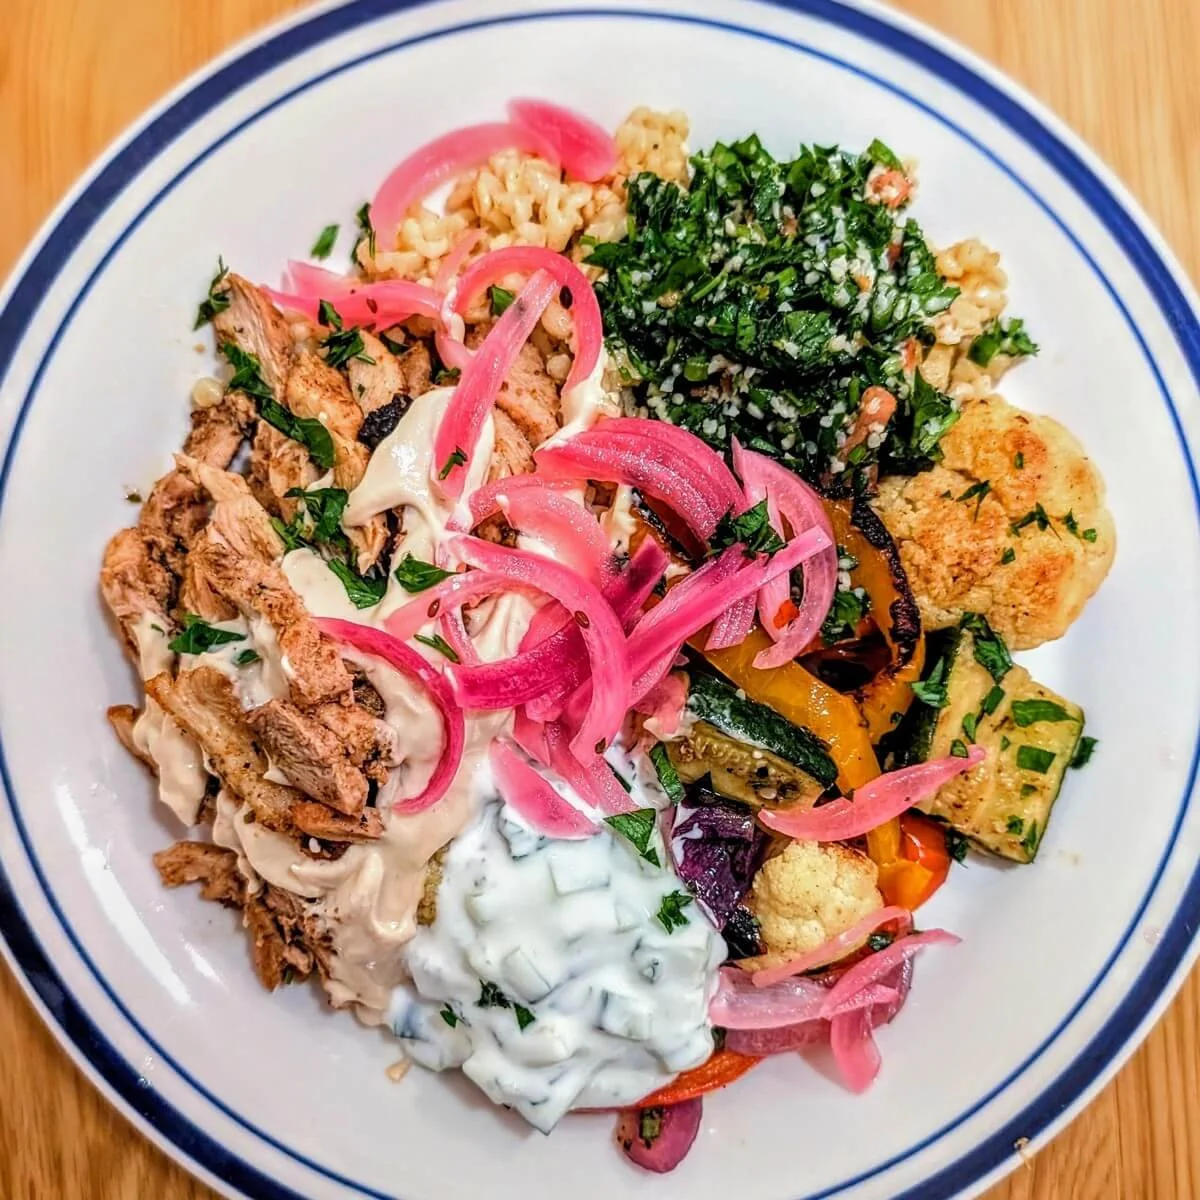
What to Serve with Risotto at the Campsite
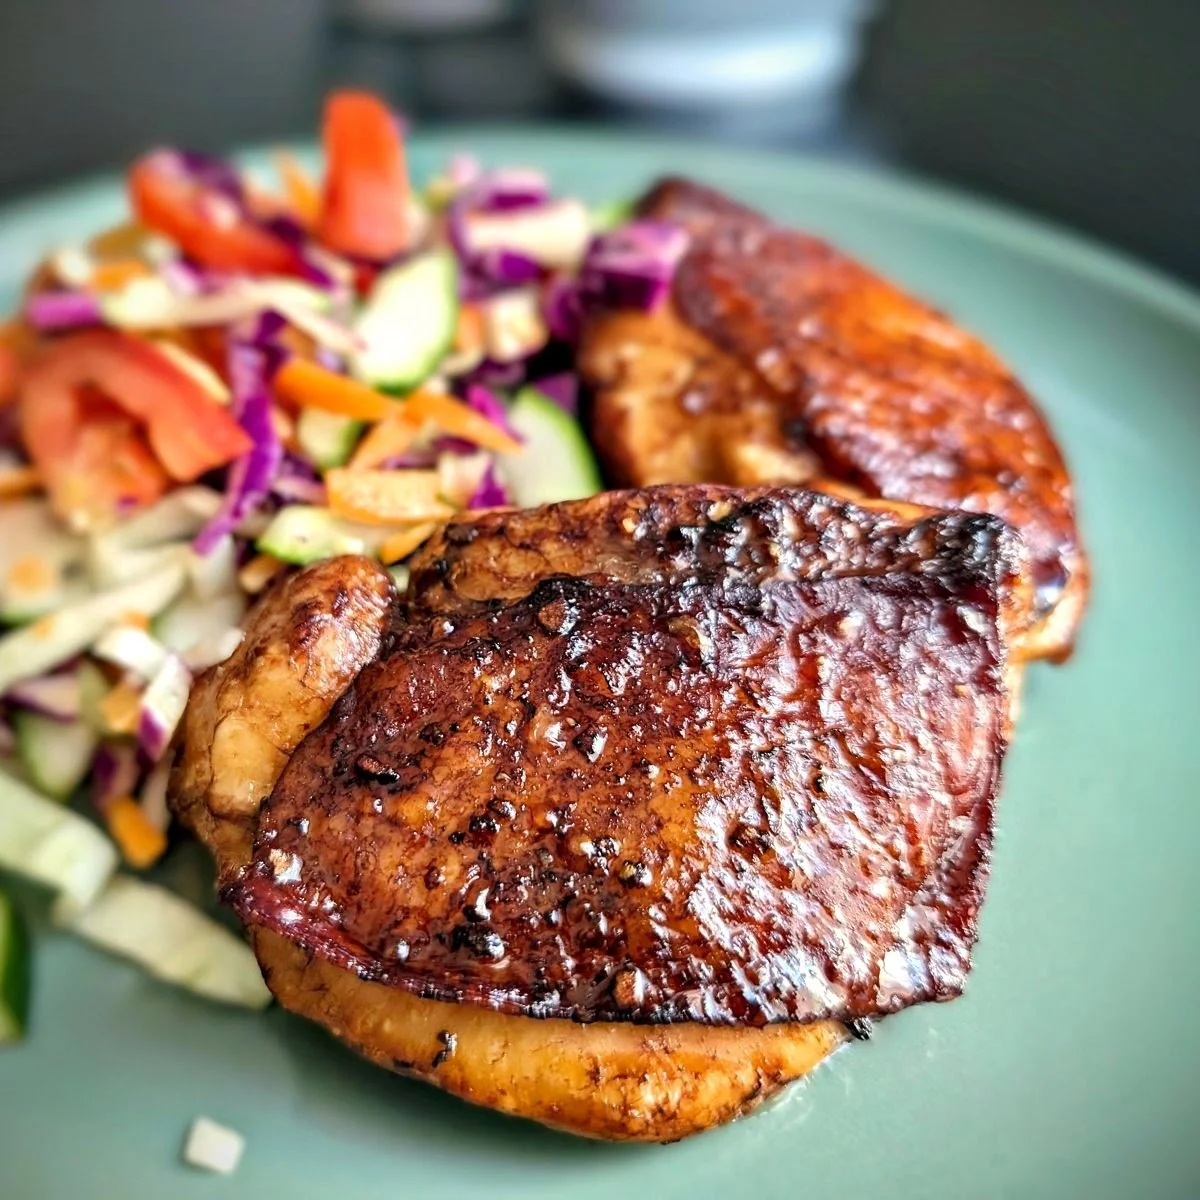
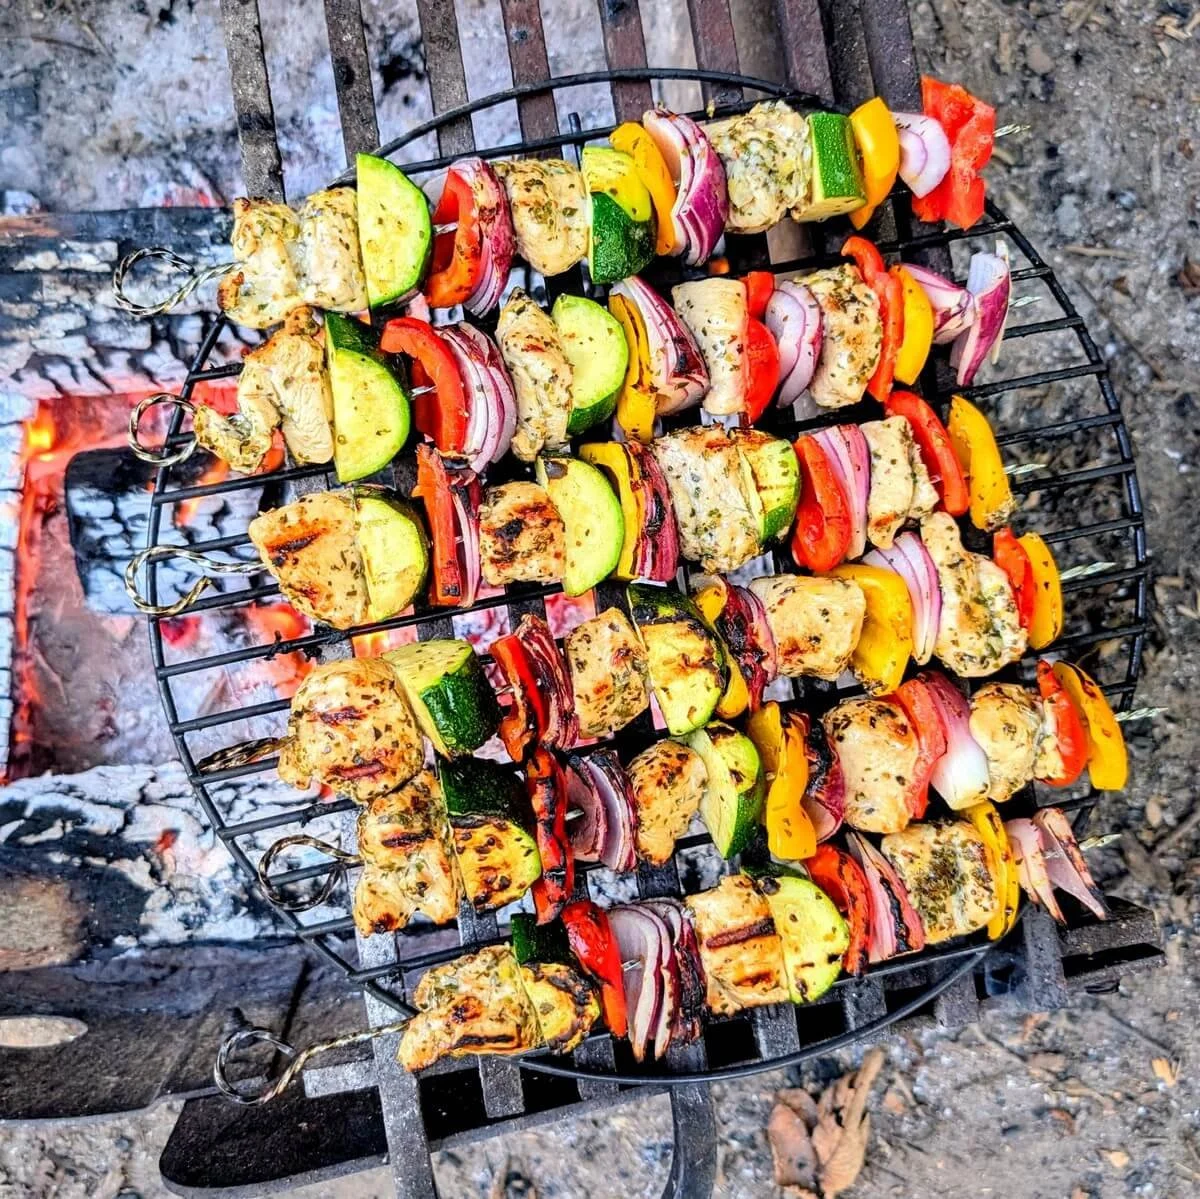
Grilled protein: Serve alongside campfire grilled steak, chicken skewers, or sausage to turn this risotto into a more substantial camp meal.
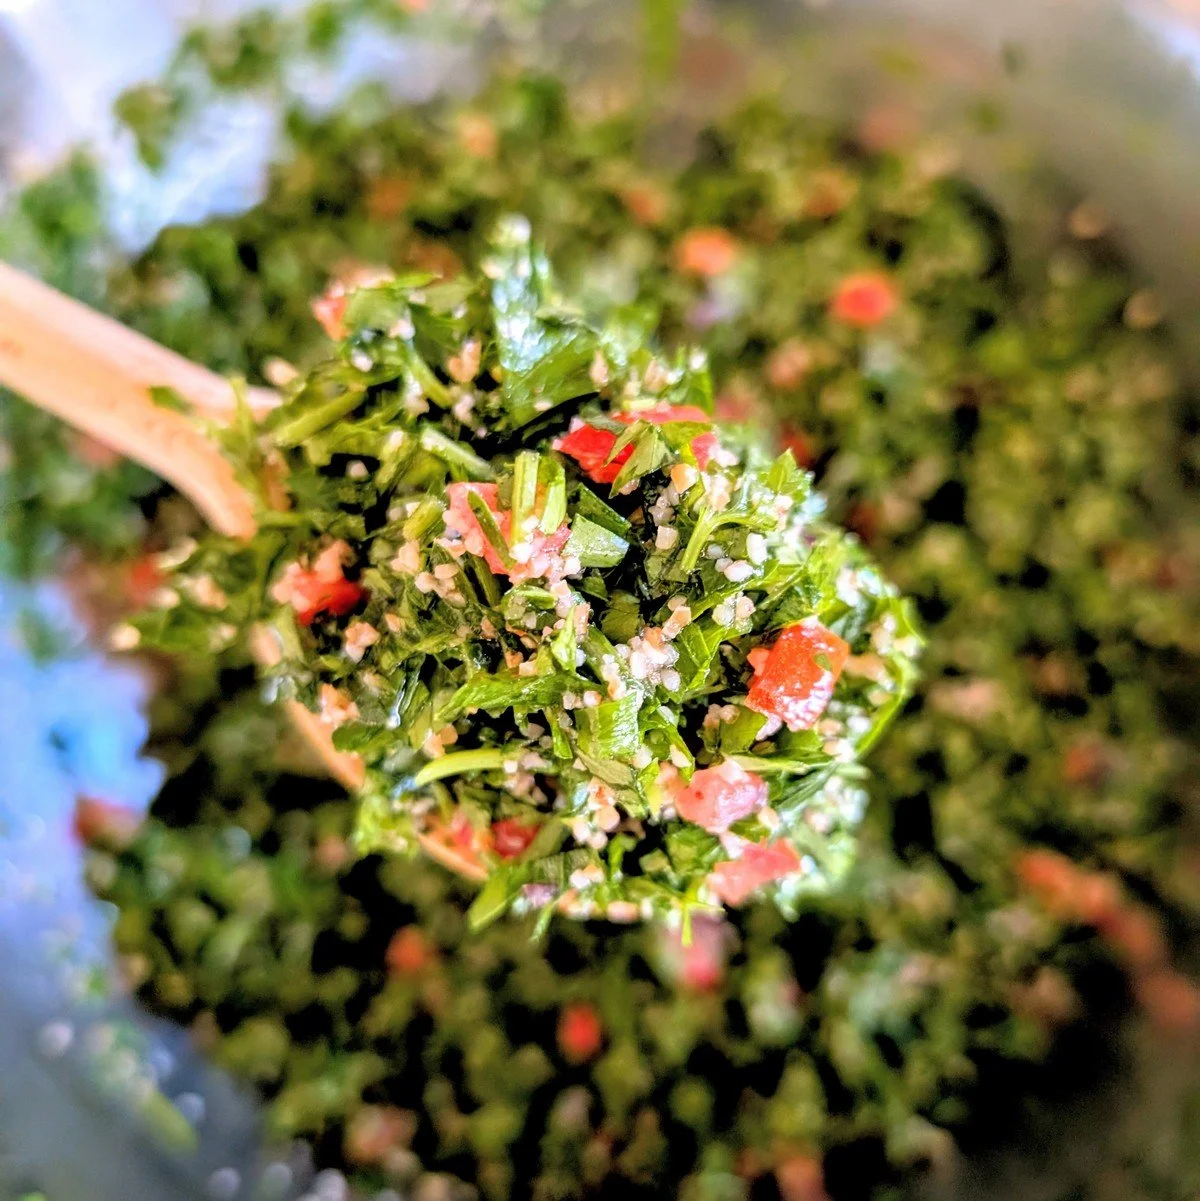
Salad: A lemony chopped salad or hearty kale salad adds freshness and contrast to balance the richness.
Vegetables: Charred asparagus, brussels sprouts, or peppers pair naturally with the earthy mushrooms and can be cooked over the same fire.
Bread: Grilled garlic bread or a crusty loaf is perfect for scooping up the last creamy bites from the bowl.
Egg: A fried egg on top makes an excellent upgrade, especially over reheated risotto the next morning for an easy campsite breakfast.
Campfire Mushroom Risotto FAQs
What is the secret to creamy mushroom risotto without cream?
The secret to creamy mushroom risotto is gradual liquid addition and steady stirring. The creaminess comes from starch released by the rice, not from dairy. Adding broth in stages and keeping it at a gentle simmer gives the rice time to build that texture naturally.
If the risotto looks creamy before you add the butter and cheese, you’re on the right track. The finishers should enhance the texture, not rescue it.
How do you know when mushroom risotto is done?
You know mushroom risotto is done when the rice is tender but still holds its shape. It should be tender with a slight firmness in the center, but not crunchy.
Visually, it should look creamy and flow slowly when stirred, not dry or soupy. When you drag a spoon through the pan, it should leave a trail that slowly fills back in.
Can you make mushroom risotto without wine?
Yes, you can absolutely make mushroom risotto without wine. I’ve made it many times both ways, and the key is building flavor through proper mushroom browning and good-quality broth.
Wine adds acidity, but it isn’t essential. A squeeze of lemon or a small splash of vinegar at the end can bring the same brightness.
What is the best broth for mushroom risotto?
The best broth for mushroom risotto is one that tastes good on its own, since the rice absorbs most of the liquid and carries that flavor through the dish.
Mushroom broth adds deeper, earthy notes, vegetable broth keeps it lighter, and chicken broth gives a richer, more savory finish. Homemade is great, but a good-quality store-bought broth works just as well—if it tastes good before it goes in the pan, it will taste good in the risotto.
What are the best mushrooms for risotto?
The best mushrooms for risotto are those that bring both flavor and texture. For depth, I prefer a mix like cremini, shimeji, and oyster, rather than just one variety. Firmer mushrooms add a meaty bite, while softer ones melt slightly into the rice and make the risotto feel more layered.
For a more intense earthy flavor, wild mushrooms like porcini, chanterelles, or morels are excellent. The only type I usually skip is plain white button mushrooms, since they contribute very little flavor.
Can you freeze mushroom risotto?
Yes, you can freeze mushroom risotto, though the texture will change once thawed. The starch structure breaks down in the freezer, so the texture can become softer or slightly grainy.
In my experience, frozen risotto works best repurposed into arancini or stirred into a soup or casserole. That way, the softer texture becomes an advantage instead of a flaw.
Enjoy this creamy mushroom risotto wherever you’re cooking.
There’s something so satisfying about pulling off a proper risotto over a live fire. Whether you’re cooking at camp or at home, the same fundamentals give you that rich, creamy texture every time. Once you’ve cooked it a few times and feel comfortable managing the heat, it becomes the kind of dish you will love to cook anywhere.
Pin This Camping Risotto Recipe for Later!
Campfire Mushroom Risotto Recipe
Creamy mushroom risotto cooked over a campfire using one pan, practical heat control, and real technique.
Makes: 2 servings
Prep: 10 min Cook: 30 min
Dietary Notes: Gluten-free, Egg-free, Vegetarian
Mushroom Risotto Ingredients
1 cup arborio rice
4 cups mushroom broth (1 store-bought box)
2 cups water, as needed
1 pound mixed mushrooms, sliced (such as cremini, shimeji, or oyster)
2 shallots, finely diced
2 cloves garlic, minced
4 tablespoons butter
¼ cup hard cheese, finely grated (parmigiano reggiano or grana padano)
2 tablespoons fresh chives, snipped with scissors
½ lemon, cut into wedges
salt & pepper, to taste
How to Cook Mushroom Risotto Over a Campfire
Build your fire and prep the ingredients. Start the campfire at least 30 minutes before cooking and let it burn down to steady heat with no large flames. Create a hot zone and a cool zone so you can control the pan’s heat. Slice the mushrooms, dice the shallots, mince the garlic, and have all ingredients ready before you begin.
Brown the mushrooms. Preheat a cast-iron pan over the hot zone and melt 1 tablespoon of butter. Add the mushrooms in a single layer and cook until they release their moisture and develop a deep brown color, working in batches if needed. Remove and set aside.
Cook the aromatics and toast the rice. Add another tablespoon of butter and sauté the shallots and garlic until softened but not browned. Stir in the arborio rice and cook until coated and lightly golden on some of the edges. This helps the rice keep its texture.
Add broth gradually and cook until tender. Add one-third of the broth and bring to a boil, then move the pan to lower heat so it simmers gently. Stir frequently. As the liquid absorbs, add the remaining broth in two more batches, letting it absorb before adding the next. This takes about 30 minutes. The risotto is ready when the rice is fully cooked, the grains hold their shape, and the texture is creamy and flowing, not soupy.
Finish with butter, cheese, and chives. Stir the mushrooms back into the risotto and warm through. Remove from the heat and stir in the remaining butter, grated cheese, and chives. Adjust seasoning with salt and pepper, and serve in bowls with a squeeze of lemon.
Top Tips for the Best Mushroom Risotto at Camp
How to store: Let the risotto cool before storing in an airtight container. It keeps up to 3 days in the fridge or 2 days in the cooler. Reheat with a splash of water or broth to bring back its creamy texture.
Add broth gradually, not all at once: Creaminess comes from slow starch release, not dairy. Keep the risotto at a gentle simmer, add liquid in stages, and stir frequently so the rice has enough time to absorb, thicken, and become creamy naturally.
Control the heat to prevent sticking: Cast iron holds heat well, so move the pan between hot and cool zones to avoid aggressive boiling. A steady simmer gives the rice time to cook evenly without scorching the bottom.
Did you make this campfire mushroom risotto?
I’d love to hear how it went—or how you made it your own. Please leave a comment below or tag me on Instagram @onecreativecook if you share your creation!
More Campfire Cooking Recipes You’ll Love
Grilled potato wedges: Crispy on the outside, fluffy on the inside, and finished with real wood-fired flavor.
Creamy polenta with fresh corn: Loaded with melty smoked gouda and sweet summer corn, this fire-stirred side feels like elevated comfort food.
One pot bison tagliatelle: A bison bolognese cooked directly with the pasta for a hearty, one-pan campfire dinner.
Campfire brussels sprouts: Cooked in bacon fat with mushrooms and onions until deeply caramelized and savory.
Fire grilled jerk chicken: Marinated ahead and cooked over open flame, these drumsticks bring bold flavor to any camping meal.
🏕️ Planning a multi-day menu at camp? Explore my collection of fire-cooked camping recipes—practical, flavor-packed dishes that go beyond the foil packet.