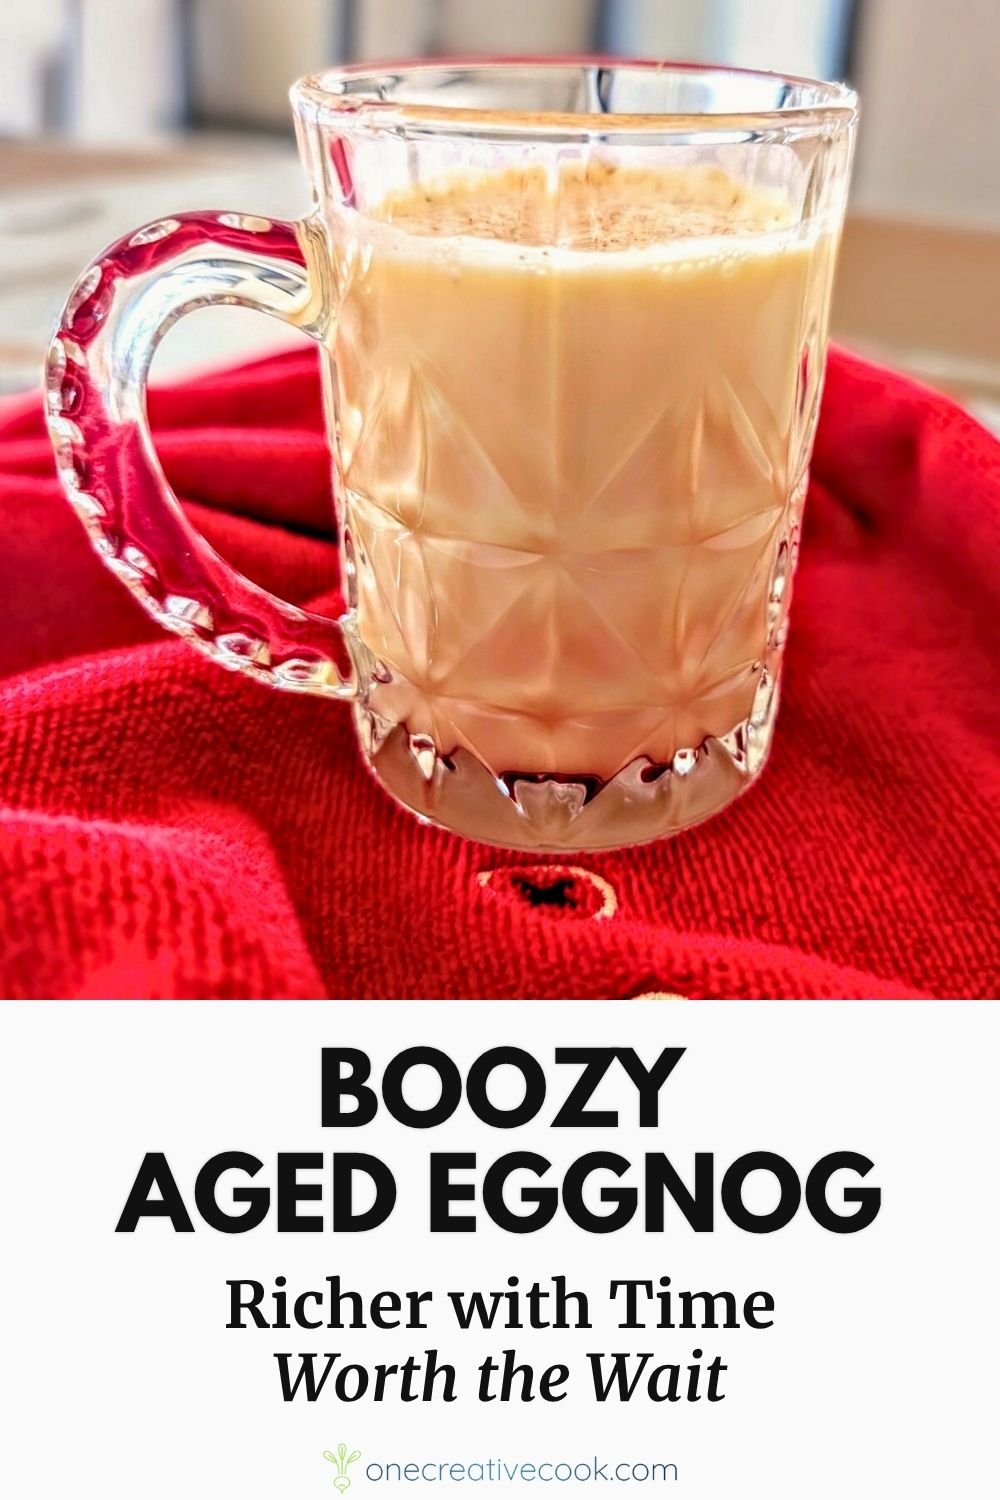
Easy Aged Eggnog
Decadently boozy and luxuriously smooth—this simple aged eggnog gets better with every week in the fridge.

A Simpler Take on Aged Eggnog
This recipe starts with science. I first came across Adam Ragusea’s aged eggnog recipe on YouTube, where he shared a method passed down from Dr. Vincent Fischetti, a microbiologist at Rockefeller University. The concept is simple but brilliant: combine your ingredients, let them rest, and over time, the alcohol kills any harmful bacteria while the flavor matures into something smooth and complex.
My version is built for ease and efficiency. Unlike Ragusea’s eggnog recipe (which includes whipped cream) or Alton Brown’s (which calls for separating a dozen yolks), this one keeps it simple—no whipping, no egg separating, and minimal steps. After several years of making it, I can confidently say it’s just as decadent and always a crowd-pleaser.
It’s the ultimate make-ahead holiday cocktail. Rich, creamy, and boozy, aged eggnog only gets better the longer it sits—so you can prep it weeks in advance and skip the store-bought cartons.
Ready to make the best aged eggnog? Let’s get started!
What You’ll Need for This Aged Eggnog Recipe
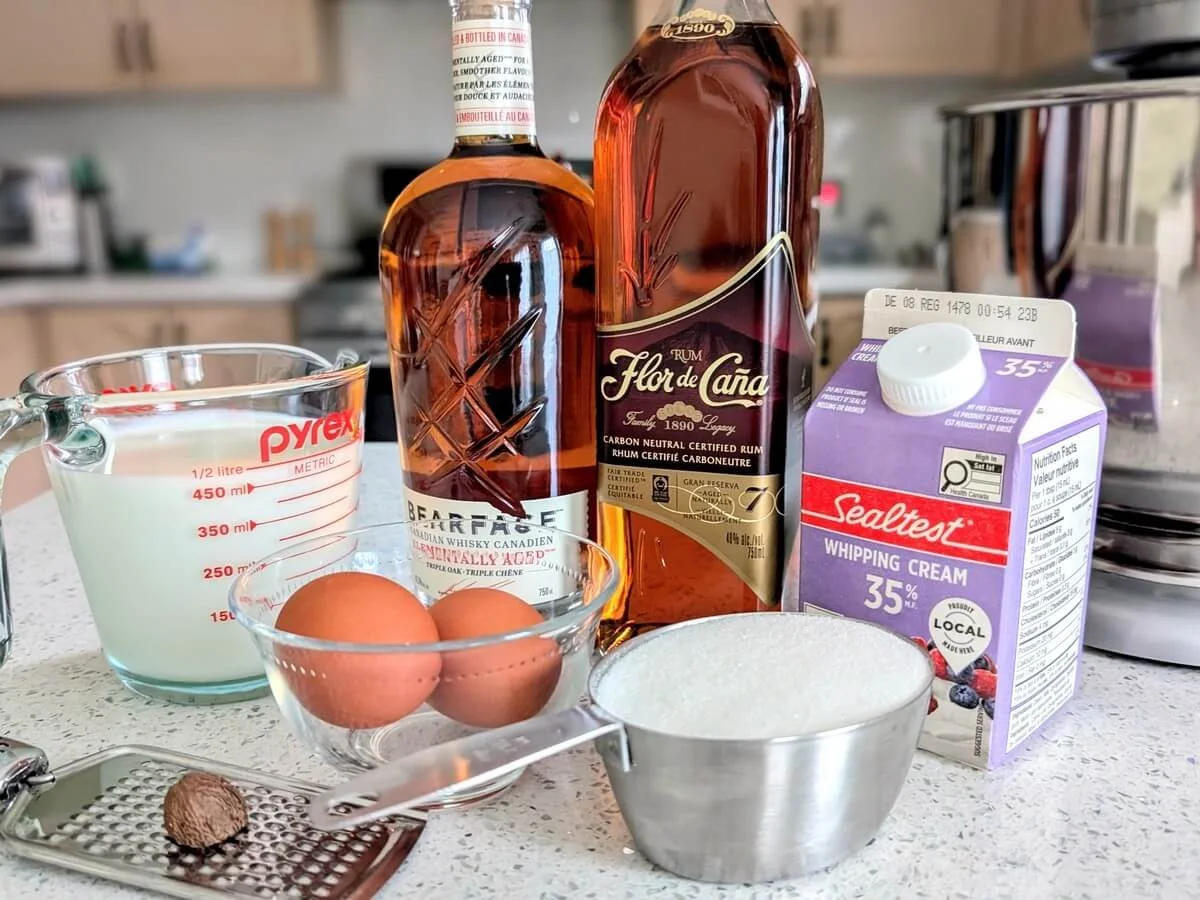
Aged Eggnog Ingredients
2 whole eggs
½ cup dark rum
½ cup whiskey
½ cup brandy
½ cup granulated sugar
1 cup heavy cream (35%)
1 cup whole milk
Fresh nutmeg, for grating on top
Equipment for Homemade Aged Eggnog
Measuring cups
Whisk and bowl or stand mixer
Fine mesh strainer
Large glass jar or bottle with a lid
Nutmeg grater
Makes: 1 quart (1 liter)
Prep: 10 min
Aging time: At least 3 weeks
How to Make Aged Eggnog
Step-by-Step with Photos
Step 1: Beat the eggs and add the alcohol
Crack the eggs into the bowl of a stand mixer or a mixing bowl and beat with a whisk until fully blended.
While mixing, slowly drizzle in the alcohol. This gradual incorporation prevents curdling and ensures the alcohol neutralizes any harmful bacteria—an essential step for both food safety and a smooth, creamy texture.


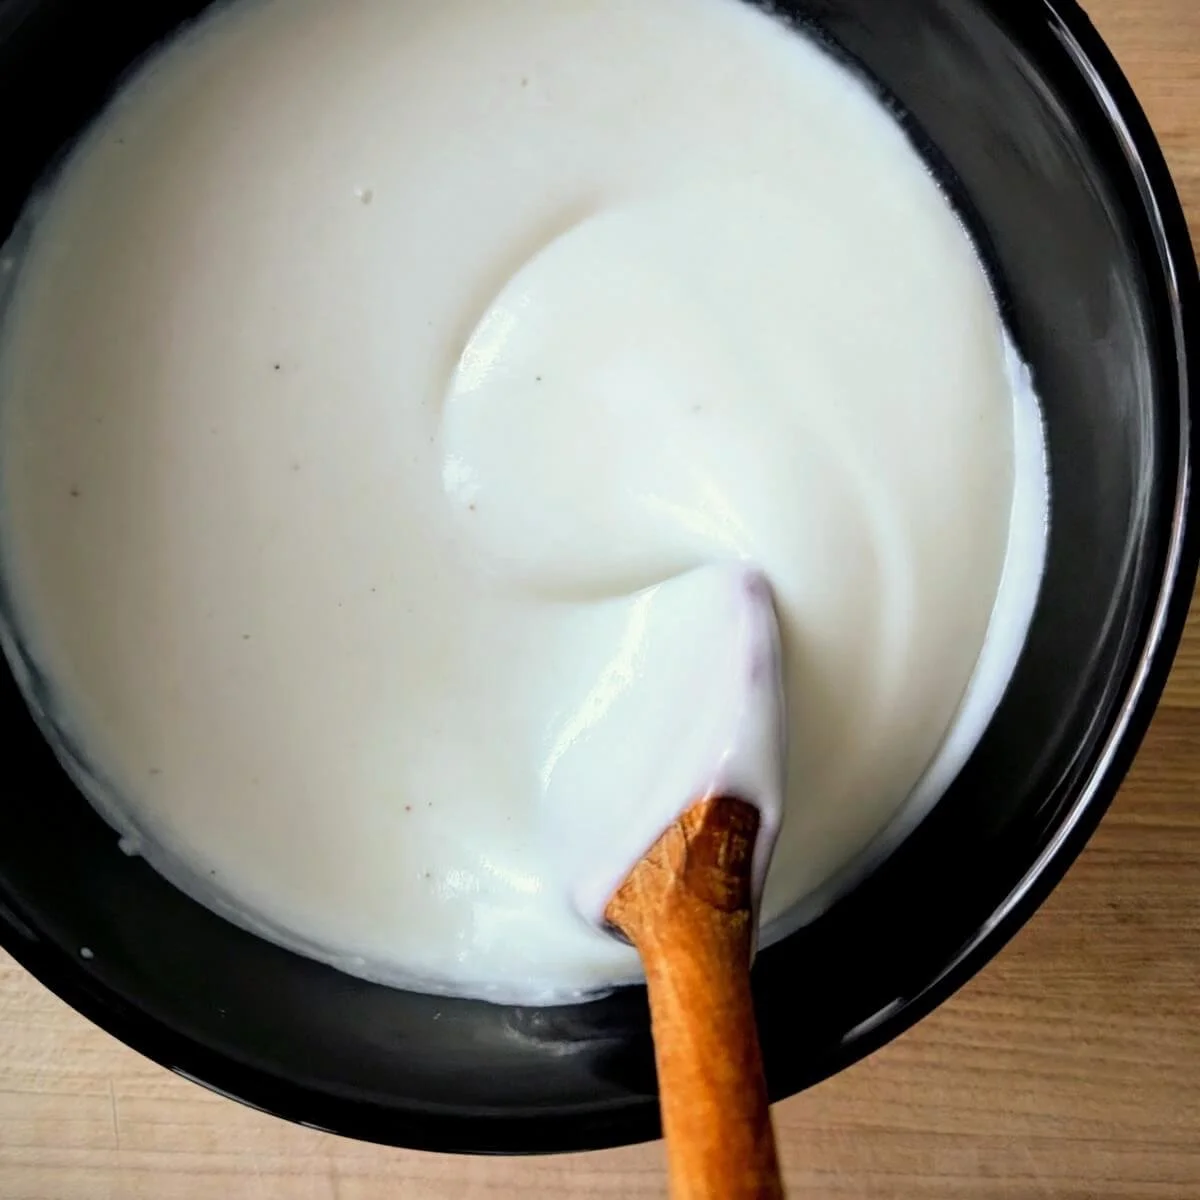
Step 2: Mix in sugar, milk, and cream
Add the sugar, milk, and cream to the egg and alcohol mixture, then mix until silky and fully combined.


Step 3: Strain eggnog and transfer to jars
Strain the eggnog through a fine mesh sieve to remove any lingering egg solids and ensure a smooth texture.
Then, pour the mixture into clean jars or bottles, leaving the lids slightly loosened to allow gases to escape during aging.


Step 4: Age the eggnog
Place the jars in the refrigerator and let them age for at least 3 weeks. As the mixture rests, the alcohol mellows and the flavors blend into a rich, cohesive drink.
For best results, give the jars a gentle shake or stir every few days as separation may occur.

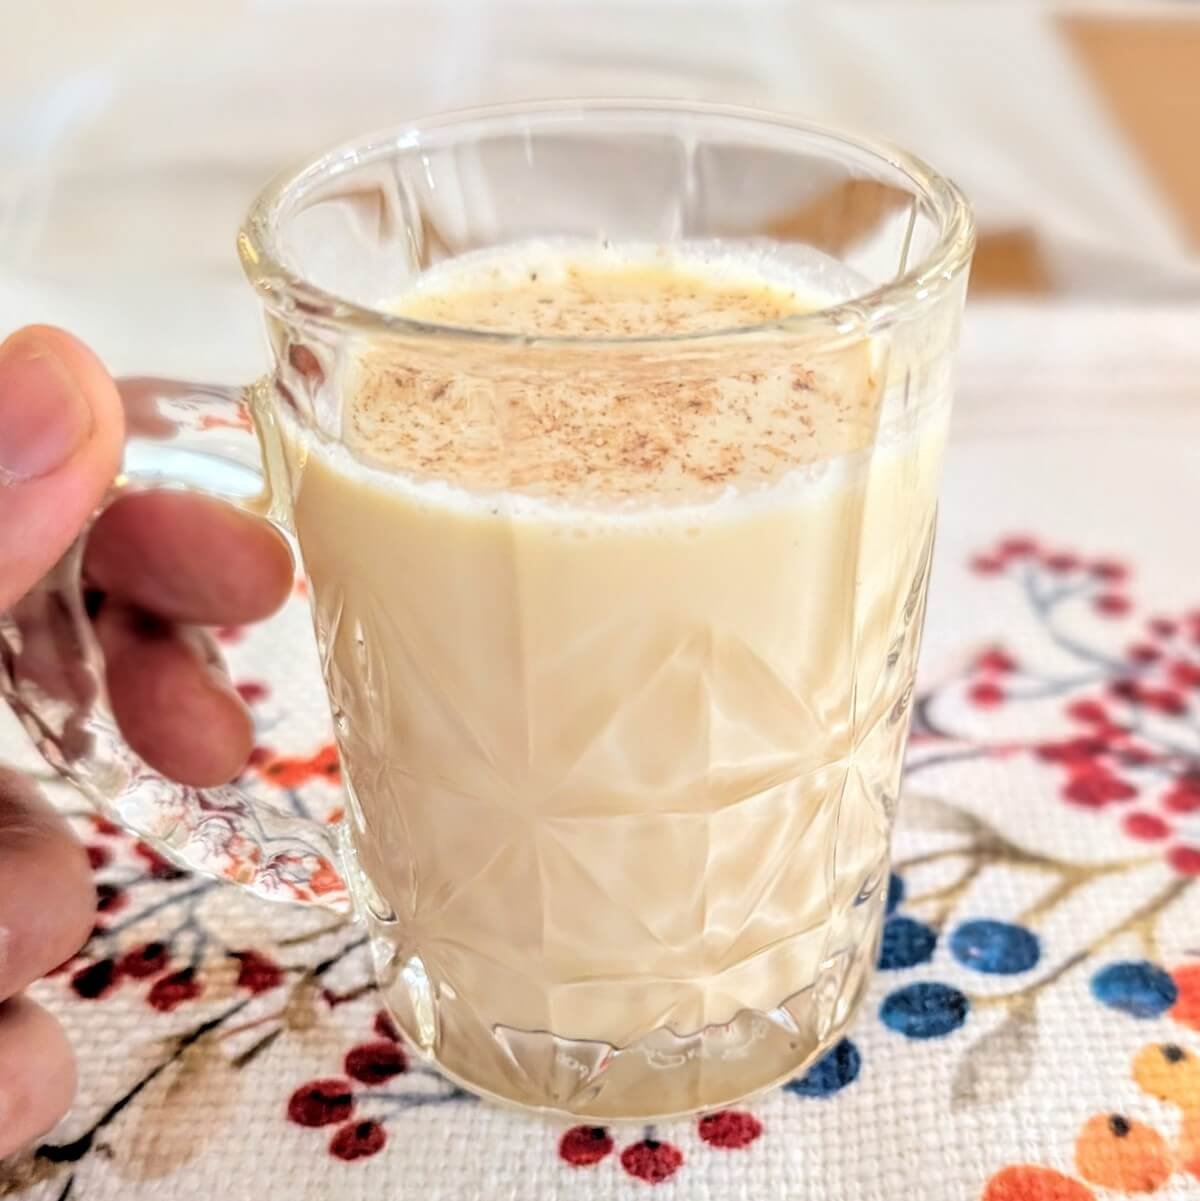
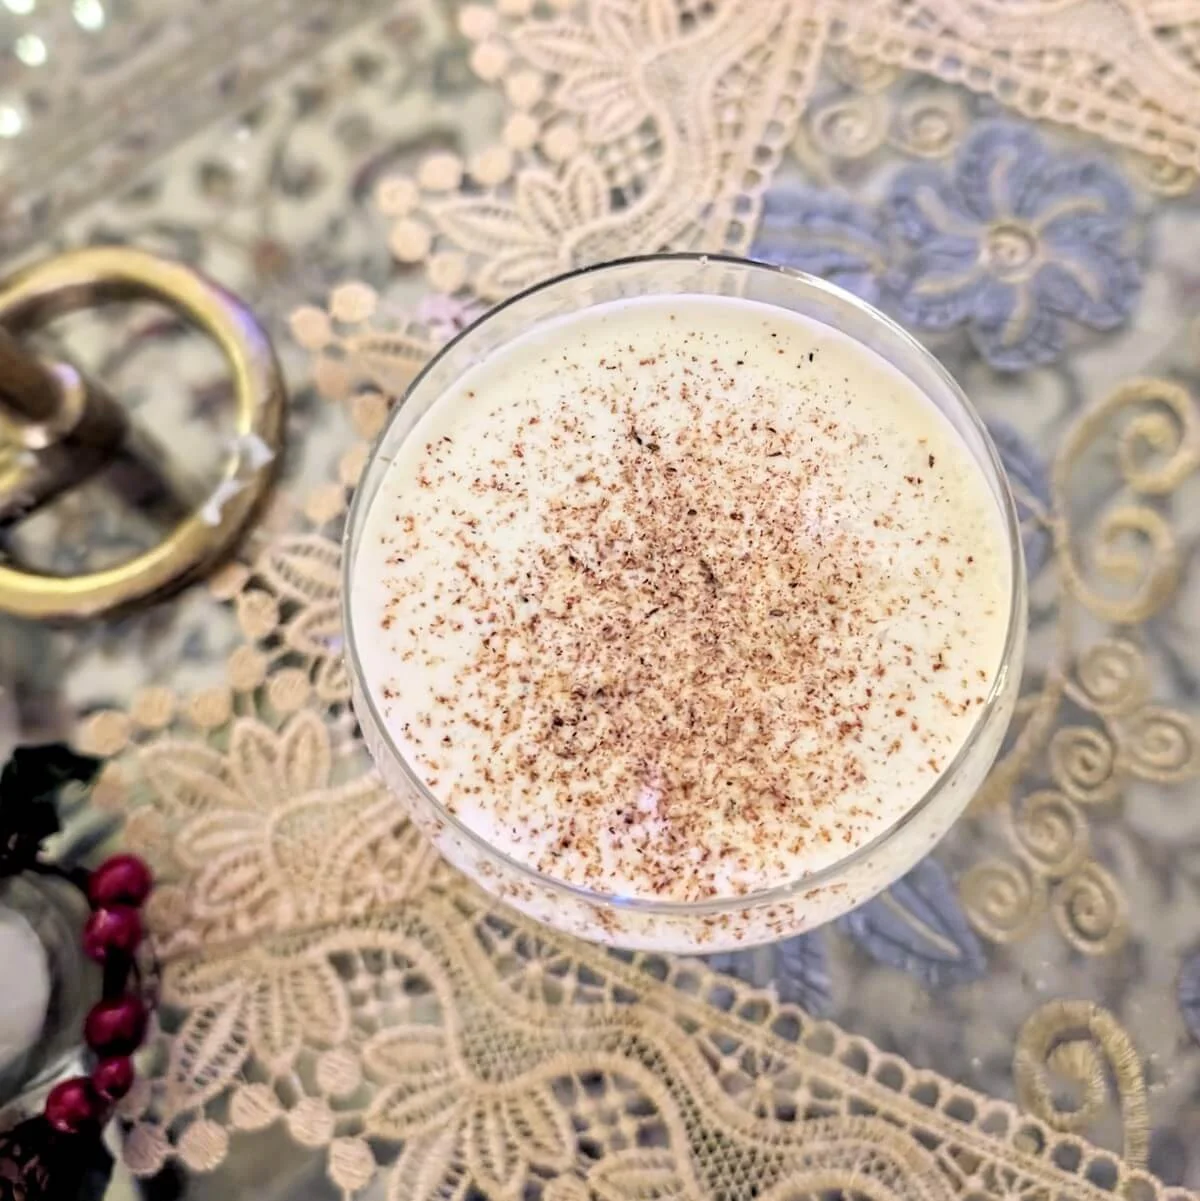
Step 5: Serve the eggnog
When ready to enjoy, give the eggnog a good shake or stir before pouring.
Serve chilled in coupe or rocks glasses, with or without ice, and top with freshly grated nutmeg for the perfect festive finish.
Top Tips for the Best Aged Eggnog
Start early for full flavor: Let your eggnog age for at least 3 weeks. The longer it rests, the smoother and more complex it becomes. That being said, you don’t need to wait months to enjoy a great glass.
Make a bigger batch: Hosting a crowd or want to gift a jar? Double or triple the recipe like I did—pictured below is a triple batch from one holiday season that still disappeared quickly!
Label your jars: Write the date on the jar with painter’s tape or a label so you can keep track of your aging timeline at a glance.
Shake it gently: Every few days, give your jars a light shake or stir to keep the ingredients evenly distributed and the texture silky-smooth.
Taste along the way: Sample a spoonful every week or so—you might hit your perfect flavor at the 3-week mark, or find it keeps getting better after a month or more.

Aged Eggnog Ingredient Substitutions
Choose your booze: Use any combination of whiskey, rum, or brandy—as long as the total adds up to 1½ cups of at least 40% ABV (80 proof) alcohol for proper aging and flavor balance.
For the best flavor, go with bold, full-bodied spirits like bourbon, rye, aged rum, or cognac.
Nutmeg matters: Freshly grated nutmeg makes a huge difference in the final taste. It’s more aromatic and nuanced than pre-ground—once you try it, you’ll never go back. A microplane or fine grater works best.
Dairy options: Whole milk and 35% heavy cream deliver the richest texture, but you can use 2% milk or half-and-half in a pinch. Just remember—richer dairy = creamier results.

How to Store Aged Eggnog
Fridge: Store aged eggnog in clean, airtight glass jars or bottles in the back of your fridge, out of the way. Properly stored, it can last several months or even up to a year.
Freezer: Technically, you can freeze aged eggnog, but it’s usually unnecessary since the alcohol preserves it well in the fridge. If you do want to freeze it, use an airtight container with room to expand, and freeze for up to 3 months. Thaw in the fridge overnight and stir well before enjoying.

Aged Eggnog FAQs
How long to age eggnog?
Minimum aging time: 3 weeks. This gives the alcohol time to mellow and the flavors time to blend.
Optimal window: 3–6 weeks. Most people, myself included, find this gives the best balance of smooth, rich flavor without being overpowering.
Maximum aging time: Up to 1 year. After that, the alcohol may become too dominant and overwhelm the creaminess.
Can you age eggnog too long?
Yes, aged eggnog can become overly sharp or boozy if left too long—especially beyond a few months.
For more details, this Serious Eats article explores the flavor of year-old eggnog. The verdict? Complex, but not everyone liked the stronger boozy notes.
What is the aged eggnog ABV for this recipe?
This aged eggnog recipe has an ABV (alcohol by volume) of approximately 14–15%. That’s based on using 1½ cups of 40% ABV (80 proof) spirits like whiskey, rum, or brandy in a 1-quart batch. It's strong enough to safely age for weeks while delivering a boozy yet smooth finish.
How do I make sure my eggnog is safe from Salmonella?
To keep your eggnog safe from Salmonella, mix the alcohol directly into the eggs while whisking. Alcohol at 40% ABV (or 80 proof) is proven to kill harmful bacteria when aged for at least 3 weeks.
Can you freeze homemade aged eggnog?
Yes, you can freeze aged eggnog—though you probably won’t need to. The alcohol preserves it well in the fridge, and the flavor improves with time.
Still, if you'd like to pause the aging or store a batch for later:
Store in an airtight container with space for expansion
Freeze for up to 3 months
Thaw overnight in the fridge, and shake gently before serving
The texture should remain smooth thanks to the eggs in the base, but if it turns grainy, you can always bake with it (try French toast or muffins! Obviously not for the kids though😅).
What pairs well with eggnog?
Baked goods: Try gingerbread, cinnamon rolls, shortbread, or salted dark chocolate chunk cookies.
Nutty snacks: Roasted almonds, pecans, or hazelnuts add a great contrast.
Cheese: Creamy brie or tangy goat cheese balances the sweetness, while sharp cheddar adds bite.
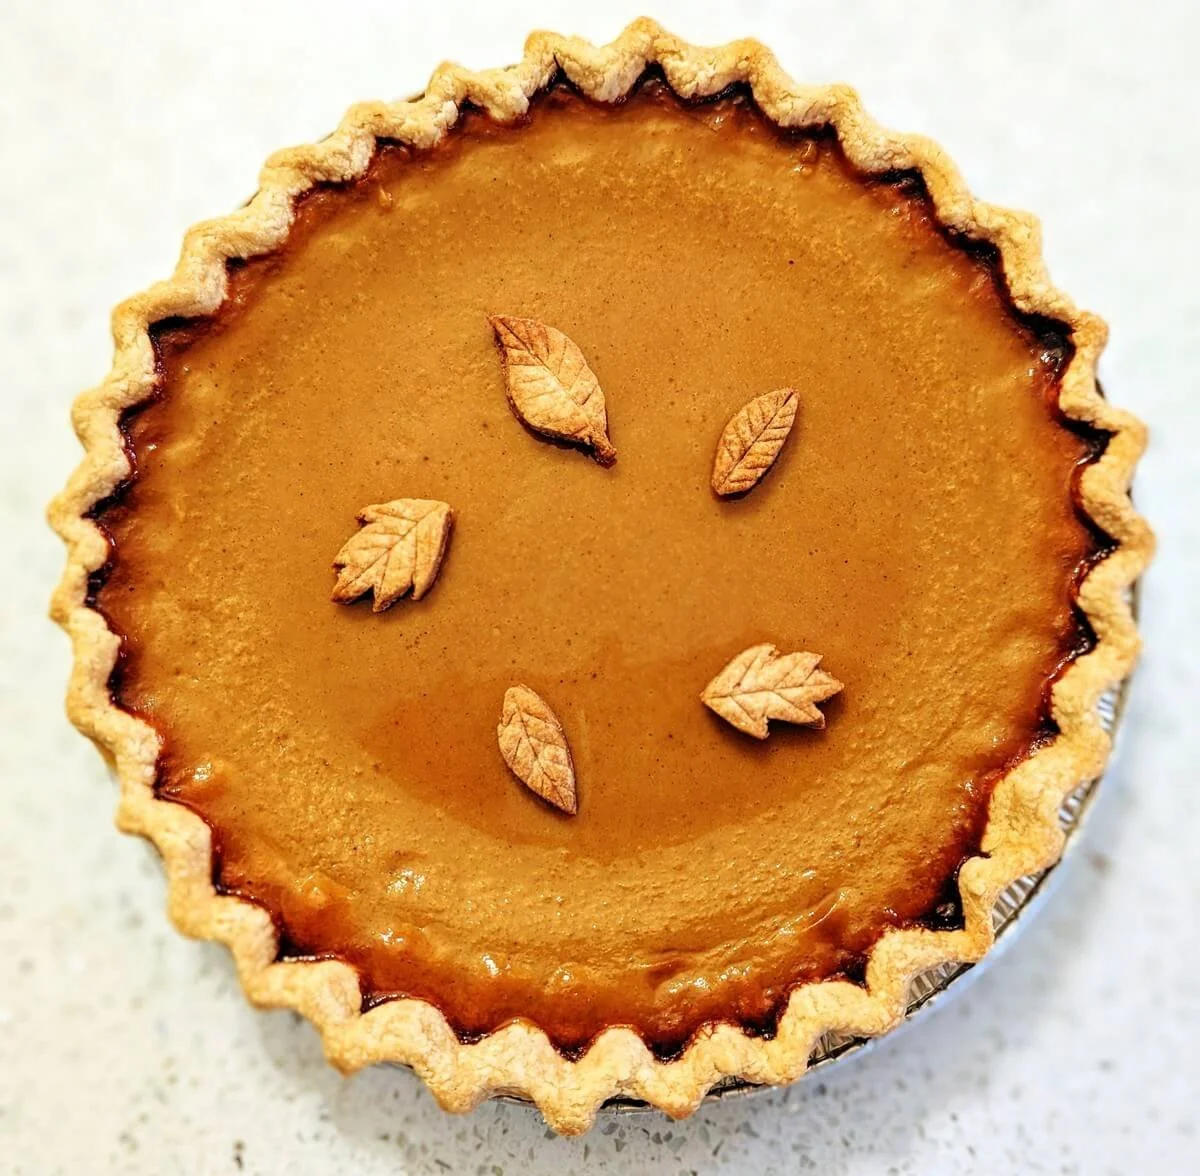
For a perfect pairing, try my homemade pumpkin pie—it’s always a crowd-pleaser!
Who started the tradition of aged eggnog?
The tradition of aging eggnog dates back to the 1940s, when Dr. Rebecca Lancefield of Rockefeller University would make eggnog at Thanksgiving and store it in a cold room until Christmas. Dr. Vincent Fischetti later carried on the tradition.
In one experiment, they even spiked a batch with Salmonella. Three weeks later, the bacteria was gone. That’s the magic of aged eggnog—not only does it become richer and more complex, but it’s also safer to drink.
Why age eggnog?
You should age eggnog to improve its flavor and safety. The alcohol has time to mellow, and everything fuses into a rich, cohesive drink. Aging also allows the alcohol to kill any harmful bacteria from the eggs, making it safe to enjoy all season long.
That’s it—enjoy your rich, creamy, aged eggnog!
Aged eggnog is one of those traditions that’s worth the wait. With just a few ingredients and a bit of planning, you’ll have a rich, boozy holiday drink that only gets better with time. I’ve made it year after year—aging batches anywhere from three weeks to two months—and it’s always far better than anything you’ll find in a carton.
Whether you're serving it at a party or bottling it up as a homemade gift, this eggnog never fails to impress. Creamy, complex, and topped with freshly grated nutmeg, it’s my must-have drink of the season—and I hope it becomes a favorite tradition in your home too.
Pin This Aged Eggnog Recipe for Later!
Did you try this boozy aged eggnog recipe?
How long did you let yours sit, and how did it turn out? Share your thoughts in the comments—I’d love to hear. Cheers!
More Holiday Recipes You’ll Love
Homemade crust for pumpkin pie: This homemade pie crust is so flaky, buttery, and delicious—well worth the effort. It only takes 3 ingredients and a little bit of patience.
Dark chocolate chunk cookies with sea salt: Quick, no-mixer cookies loaded with gooey dark chocolate and topped with flaky sea salt—perfect for gifting or holiday dessert trays.
Thanksgiving turkey dinner for a small family: Hosting a cozy holiday? This complete turkey dinner for 4–6 still feels festive and special.
Easy baked butternut squash: A warm, golden side dish that’s seasonal, flavorful, and pairs well with almost anything on your holiday table.
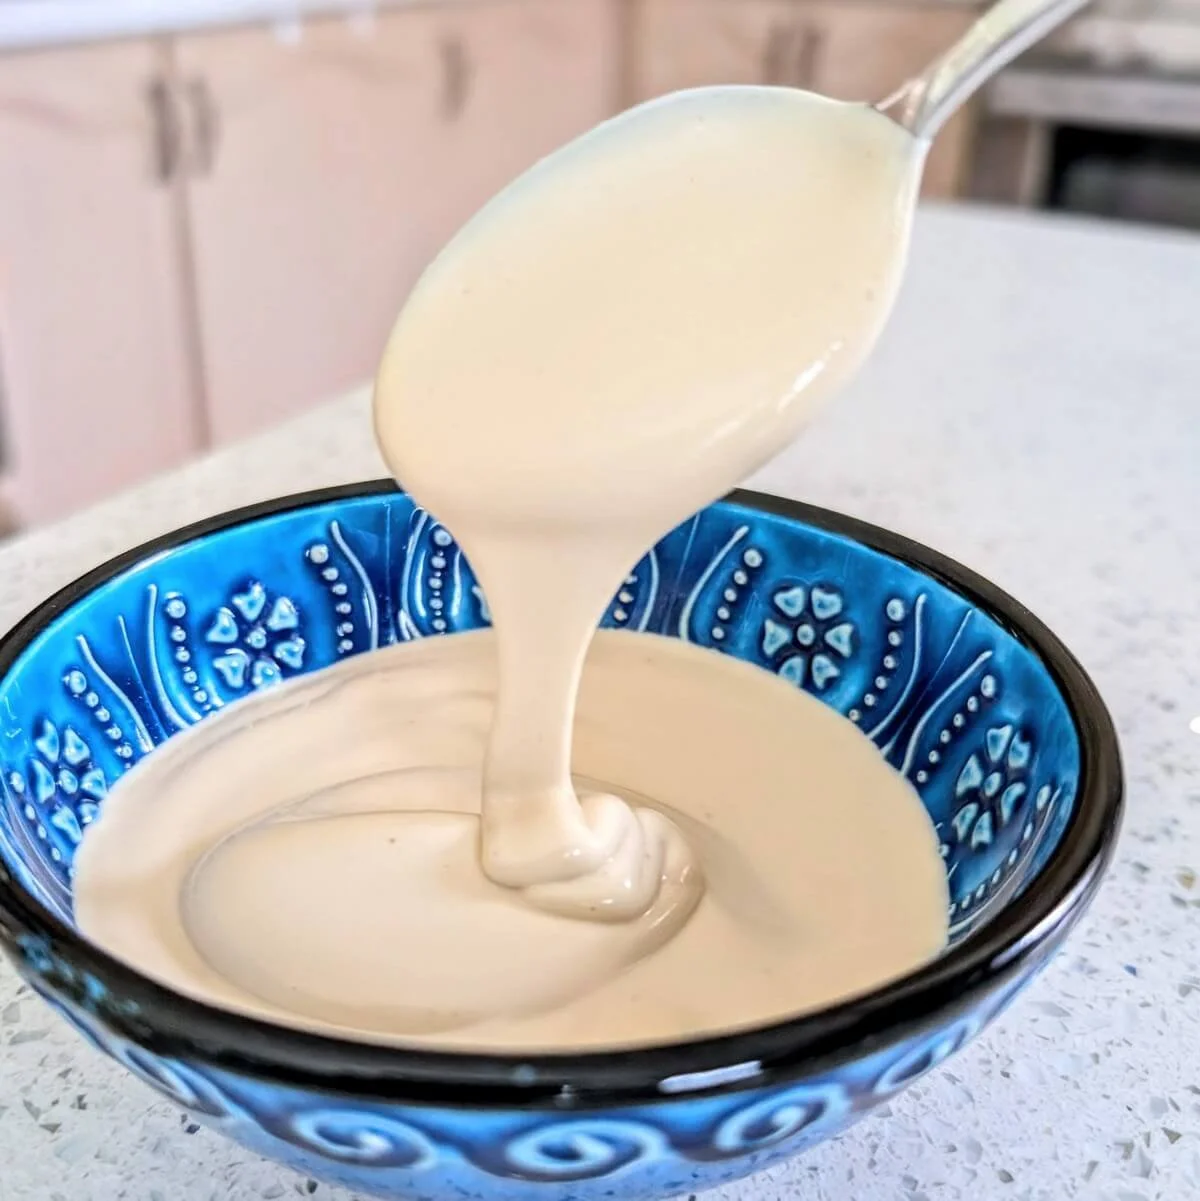
Five‑minute immersion blender hollandaise: Make this rich, velvety sauce in minutes for brunch, eggs Benedict, or Christmas morning breakfasts.